SwiftSDL 是一个开源 Swift 库,它提供了一个完整的接口,用于使用基于 C 的 SDL (Simple DirectMedia Layer) 库。 此包装器允许开发者在 macOS、iOS 和 Linux 上的 Swift 应用程序中利用 SDL 的跨平台多媒体和游戏开发功能。
"Simple DirectMedia Layer 是一个跨平台开发库,旨在通过 OpenGL/Direct3D/Metal/Vulkan 提供对音频、键盘、鼠标、操纵杆和图形硬件的底层访问。它被视频播放软件、模拟器和流行的游戏使用,包括 Valve 屡获殊荣的目录和许多 Humble Bundle 游戏。" - wiki.libsdl.org
- Swift 6.0.2 或更高版本; 并且,
- SDL v3.1.6-preview,(仅 Linux 需要)。
// swift-tools-version: 6.0
// The swift-tools-version declares the minimum version of Swift required to build this package.

import PackageDescription

let package = Package(
    name: "MySDLGame",
    platforms: [
      .macOS(.v13)
    ],
    dependencies: [
      .package(url: "https://github.com/KevinVitale/SwiftSDL.git", from: "0.2.0-alpha.16"),),
    ],
    targets: [
        .executableTarget(
            name: "SwiftSDLTest",
            dependencies: [
              "SwiftSDL"
            ],
            resources: [
              .process("../Resources/BMP"),
            ]
        ),
    ]
)
与 Swift 本身一样,SwiftSDL 使 SDL3 对新手来说平易近人,对专家来说功能强大。
一个完整的 SwiftSDL 游戏由以下 22 行代码组成
import SwiftSDL

@main
final class MyGame: Game {
    private enum CodingKeys: String, CodingKey {
        case options
    }

    @OptionGroup
    var options: GameOptions

    func onReady(window: any Window) throws(SDL_Error) {
      /* create a renderer, or acquire a gpu device. */
      /* load assets or resources. */
    }

    func onUpdate(window: any Window) throws(SDL_Error) {
      /* handle game logic and render frames */
    }

    func onEvent(window: any Window, _ event: SDL_Event) throws(SDL_Error) {
      /* respond to events */
    }

    func onShutdown(window: (any Window)?) throws(SDL_Error) {
      /* release objects and unload resources */
    }
}
类 MyGame 符合 Game 协议。 窗口使用合理的默认值自动创建,当然,也可以手动覆盖窗口的创建。
在底层,Game 协议实现了 SDL3 的新 main 回调。
GameOptions 是运行时参数,可以改变应用程序的行为,例如窗口的外观。
让我们从头到尾创建一个使用 SwiftSDL 的应用程序。
使用 Swift 的命令行实用程序,我们将在一个空目录中创建项目
# Create an empty directory for our project
mkdir MyGame
cd MyGame

# Create the executable package
swift package init --type executable
更新 Package.swift 文件以包含 SwiftSDL 作为依赖项
注意:您可能需要调整
platforms以使用.macOS(.v13)。
// swift-tools-version: 6.0
// The swift-tools-version declares the minimum version of Swift required to build this package.

import PackageDescription

let package = Package(
    name: "MyGame",
    platforms: [
        .macOS(.v13)
    ],
    dependencies: [
      .package(url: "https://github.com/KevinVitale/SwiftSDL.git", from: "0.2.0-alpha.17")
    ],
    targets: [
        // Targets can depend on other targets in this package and products from dependencies.
        .executableTarget(
            name: "MyGame",
            dependencies: [
               "SwiftSDL"
            ]
        ),
    ]
)
将 main.swift 重命名为 MyGame.swift
mv Sources/main.swift Sources/MyGame.swift
然后将 MyGame.swift 替换为以下代码
import SwiftSDL

@main
final class MyGame: Game {
    private enum CodingKeys: String, CodingKey {
      case options, message
    }

    @OptionGroup
    var options: GameOptions

    @Argument
    var message: String = "Hello, SwiftSDL!"

    private var renderer: (any Renderer)! = nil

    func onReady(window: any Window) throws(SDL_Error) {
      renderer = try window.createRenderer()
    }

    func onUpdate(window: any Window) throws(SDL_Error) {
      try renderer
        .clear(color: .gray)
        .debug(text: message, position: [12, 12], scale: [2, 2])
        .fill(rects: [24, 48, 128, 128], color: .white)
        .fill(rects: [36, 60, 104, 104], color: .green)
        .present()
    }

    func onEvent(window: any Window, _ event: SDL_Event) throws(SDL_Error) {
    }

    func onShutdown(window: (any Window)?) throws(SDL_Error) {
      renderer = nil
    }
}
然后启动游戏
swift run
注意:您应该会看到一个带有灰色背景的窗口,一条消息 "Hello, SwiftSDL!",以及两个正方形:一个大的白色正方形和一个较小的绿色正方形。
您的游戏有几个内置选项。 要查看所有选项,请使用 --help
swift run MyGame --help
USAGE: my-game [<options>] [<message>]

ARGUMENTS:
  <message>               (default: Hello, SwiftSDL!)

OPTIONS:
  --hide-cursor           Hide the system's cursor
  --auto-scale-content    Stretch the content to fill the window
  --logical-size <logical-size>
                          Forces the rendered content to be a certain logical size (WxH)
  --logical-presentation <logical-presentation>
                          Forces the rendered content to be a certain logical order; overrides '--auto-scale-content' (values: disabled,
                          stretch, letterbox, overscan, integer-scale; default: disabled)
  --vsync-rate <vsync-rate>
                          Set vertical synchronization rate (values: adaptive, disabled, interger value; default: disabled)
  --window-always-on-top  Window is always kept on top
  --window-fullscreen     Window is set to fullscreen
  --window-transparent    Window is uses a transparent buffer
  --window-maximized      Create a maximized window; requires '--window-resizable'
  --window-minimized      Create a minimized window
  --window-max-size <window-max-size>
                          Specify the maximum window's size (WxH)
  --window-min-size <window-min-size>
                          Specify the minimum window's size (WxH)
  --window-mouse-focus    Force the window to have mouse focus
  --window-no-frame       Create a borderless window
  --window-resizable      Enable window resizability
  --window-position <window-position>
                          Specify the window's position (XxY)
  --window-size <window-size>
                          Specify the window's size (WxH)
  --window-title <window-title>
                          Specify the window's title
  -h, --help              Show help information.
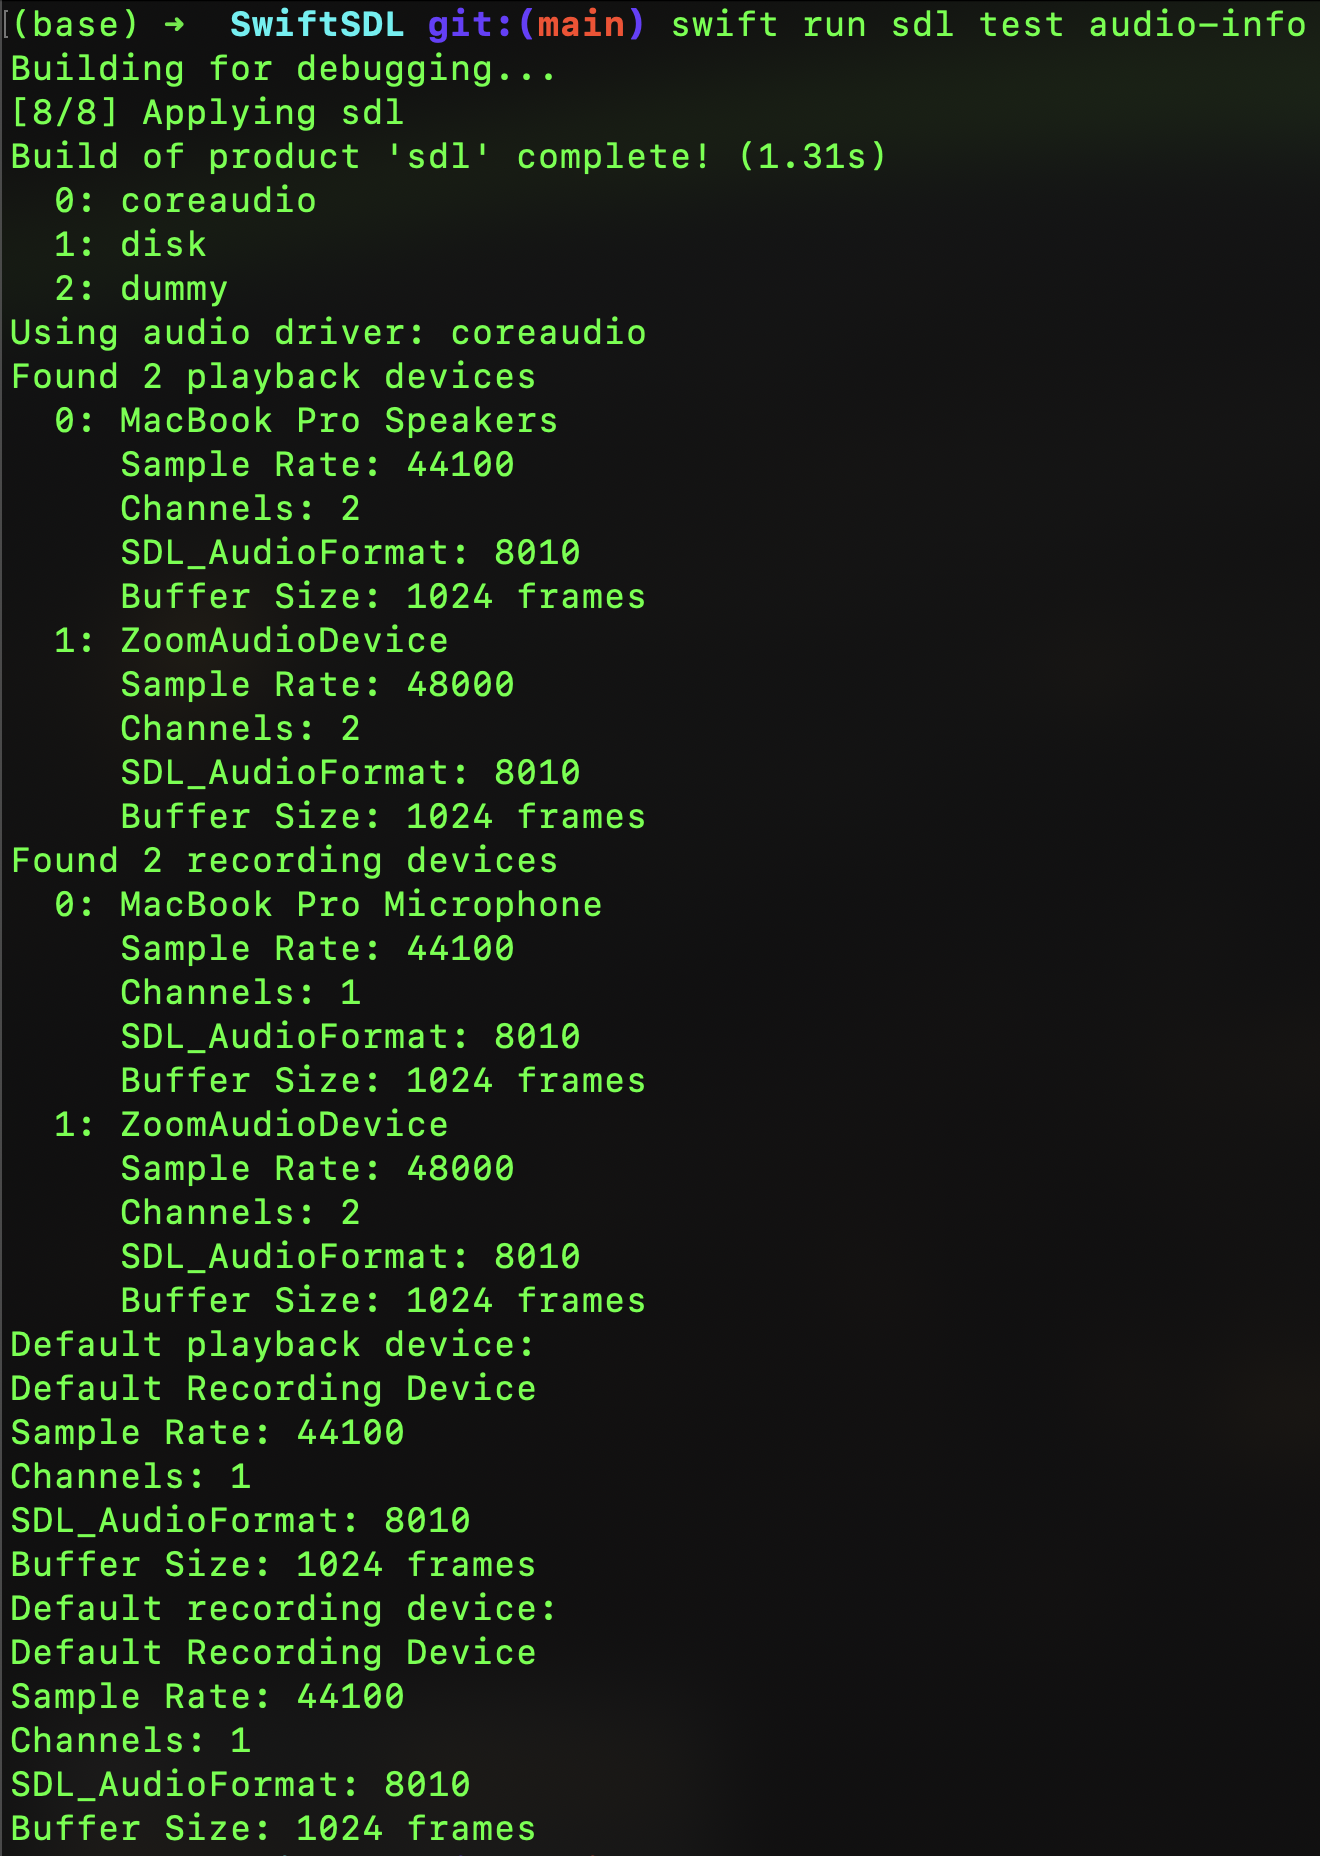
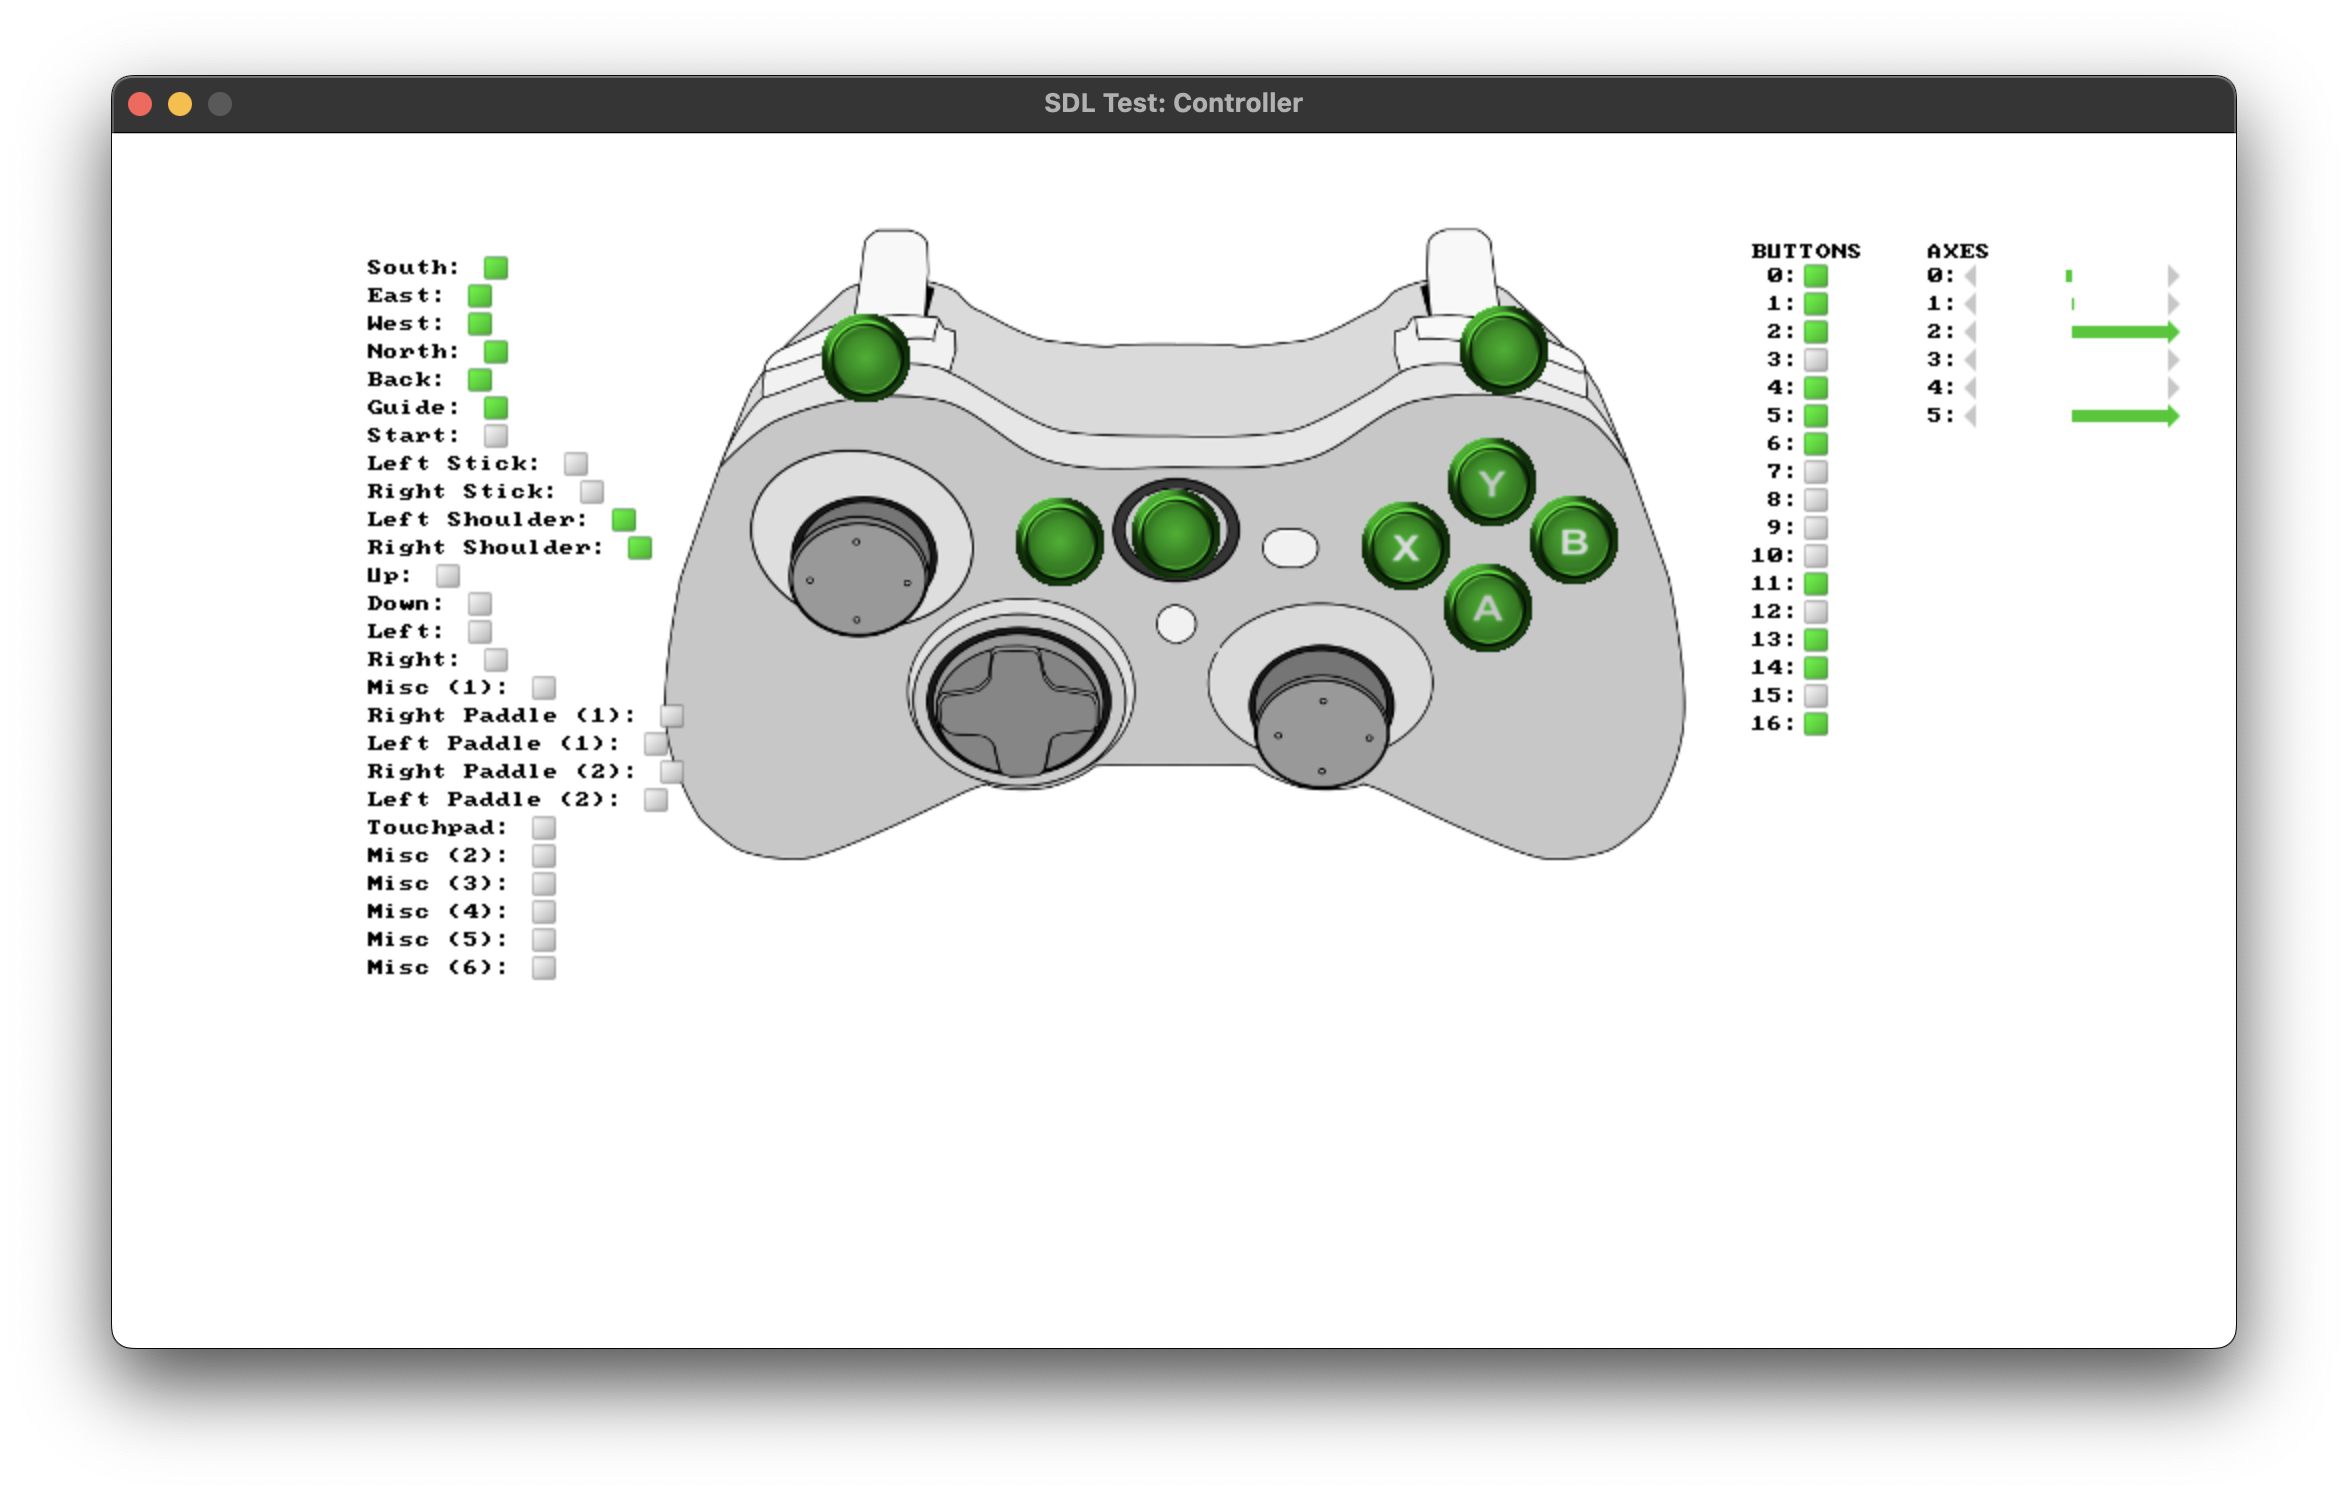
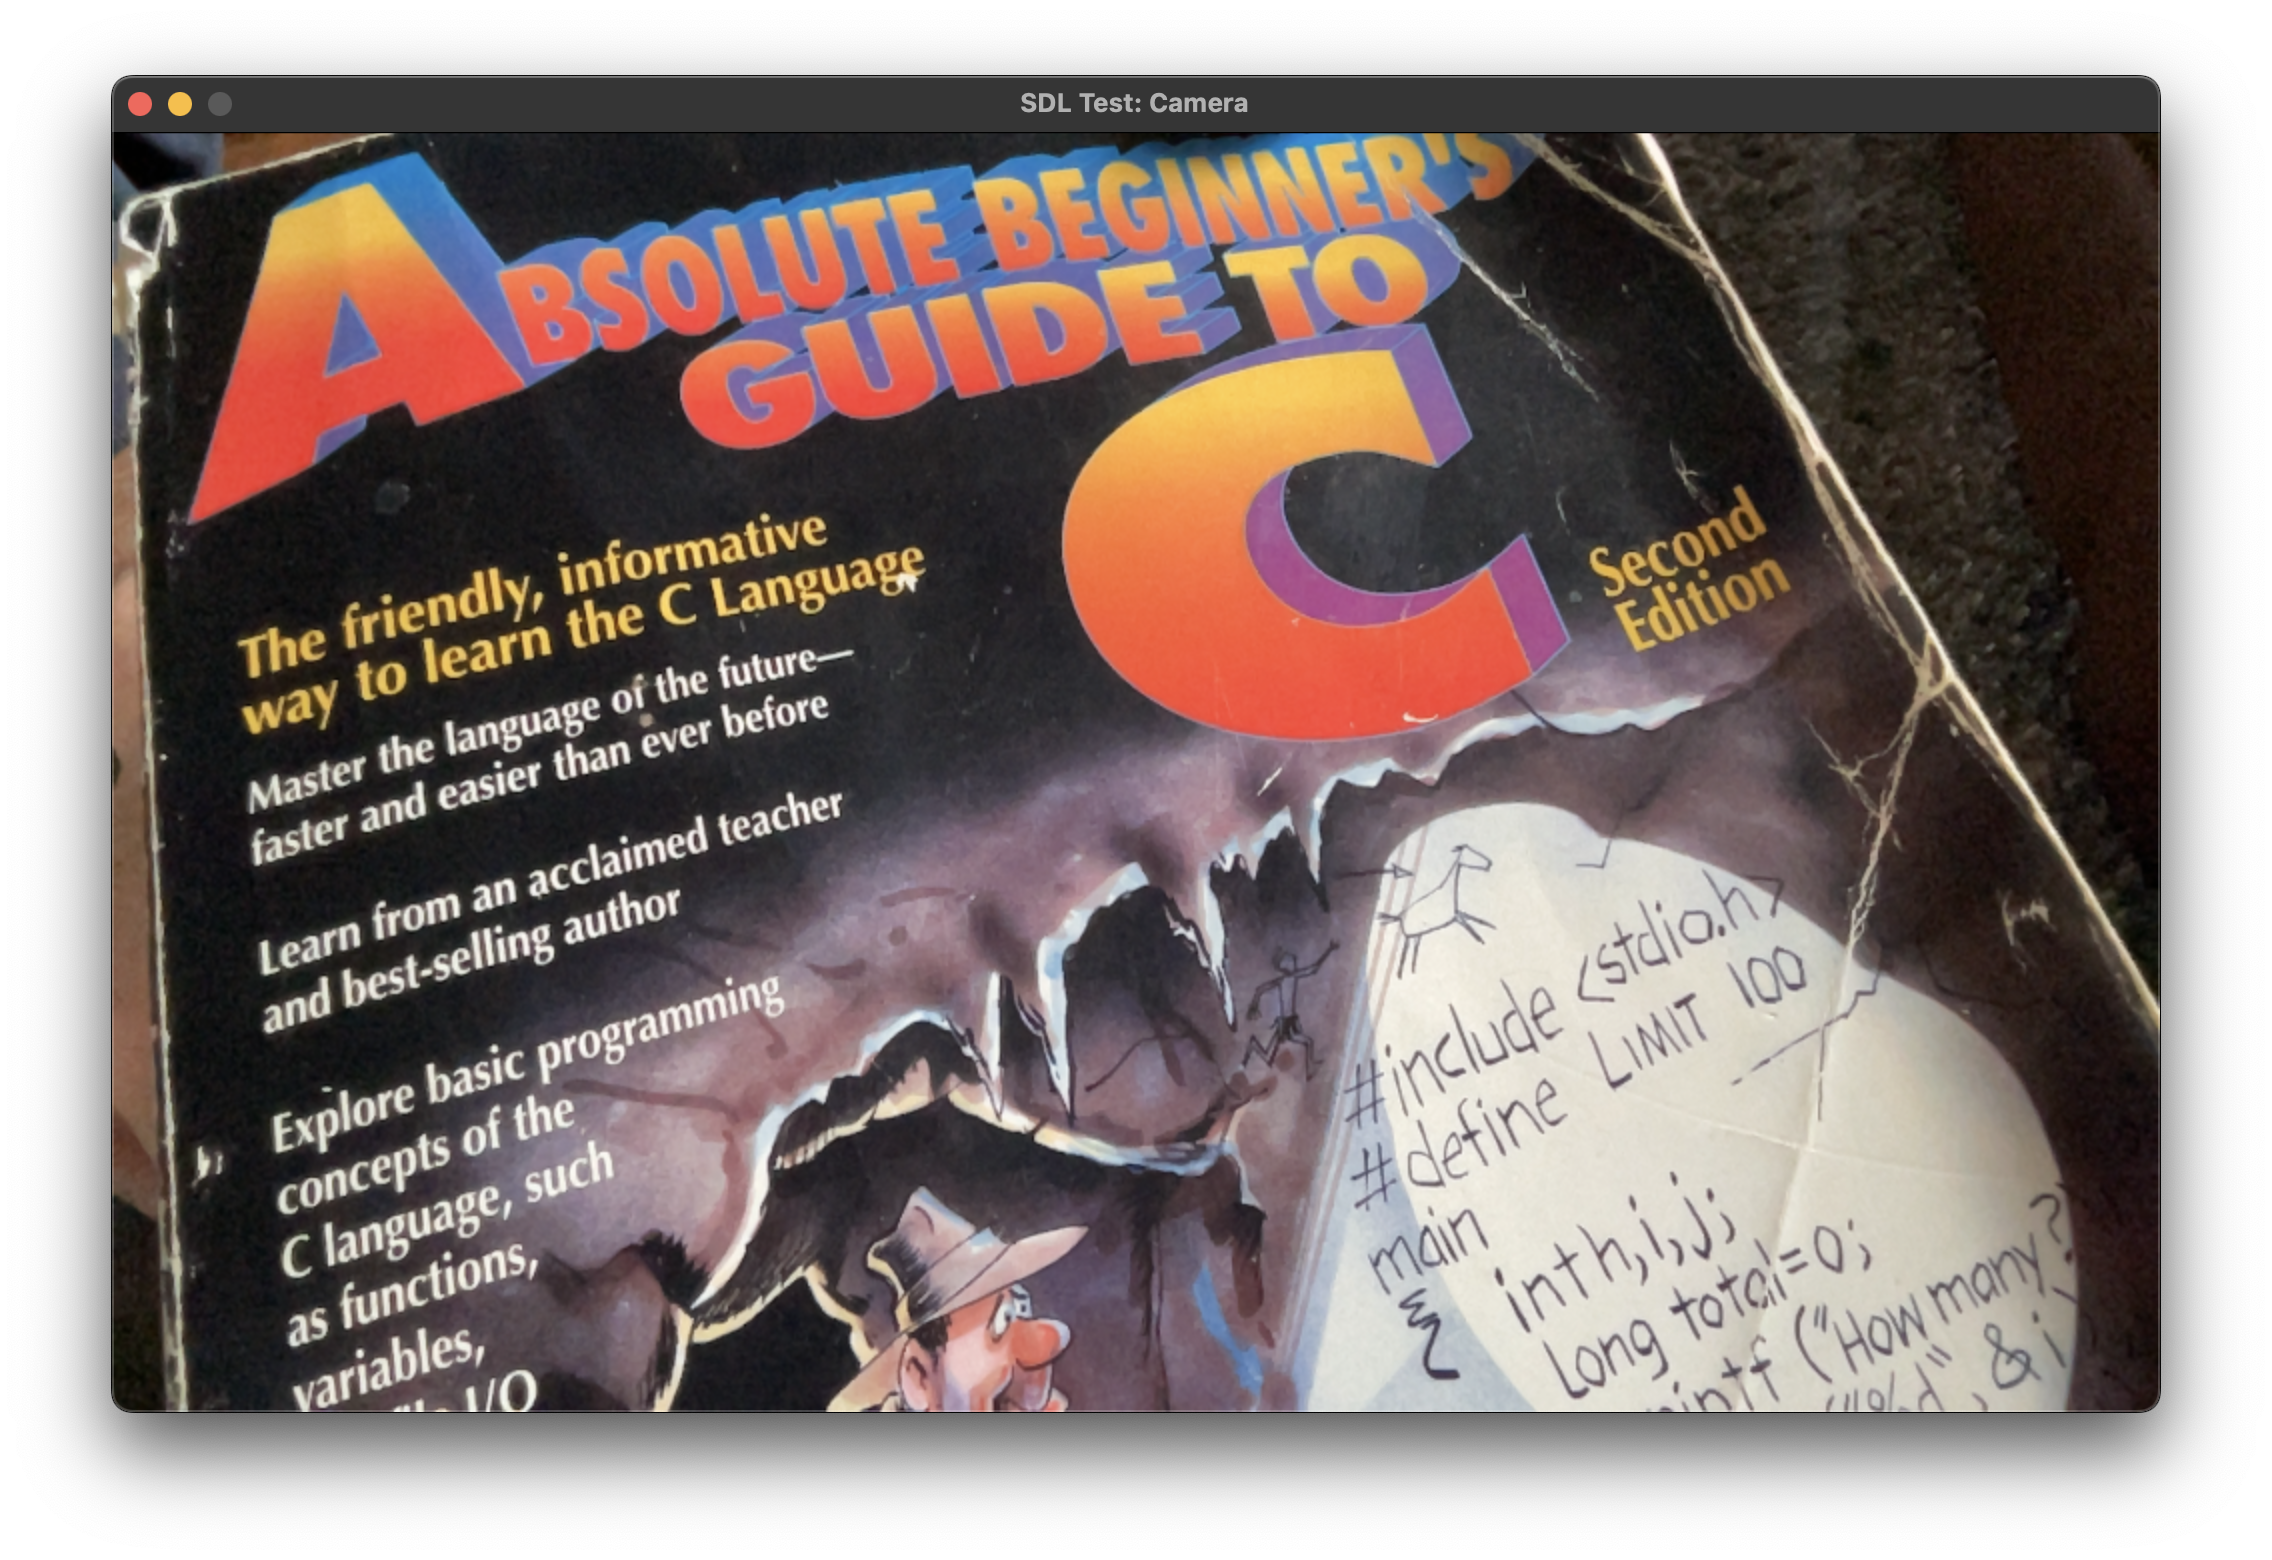
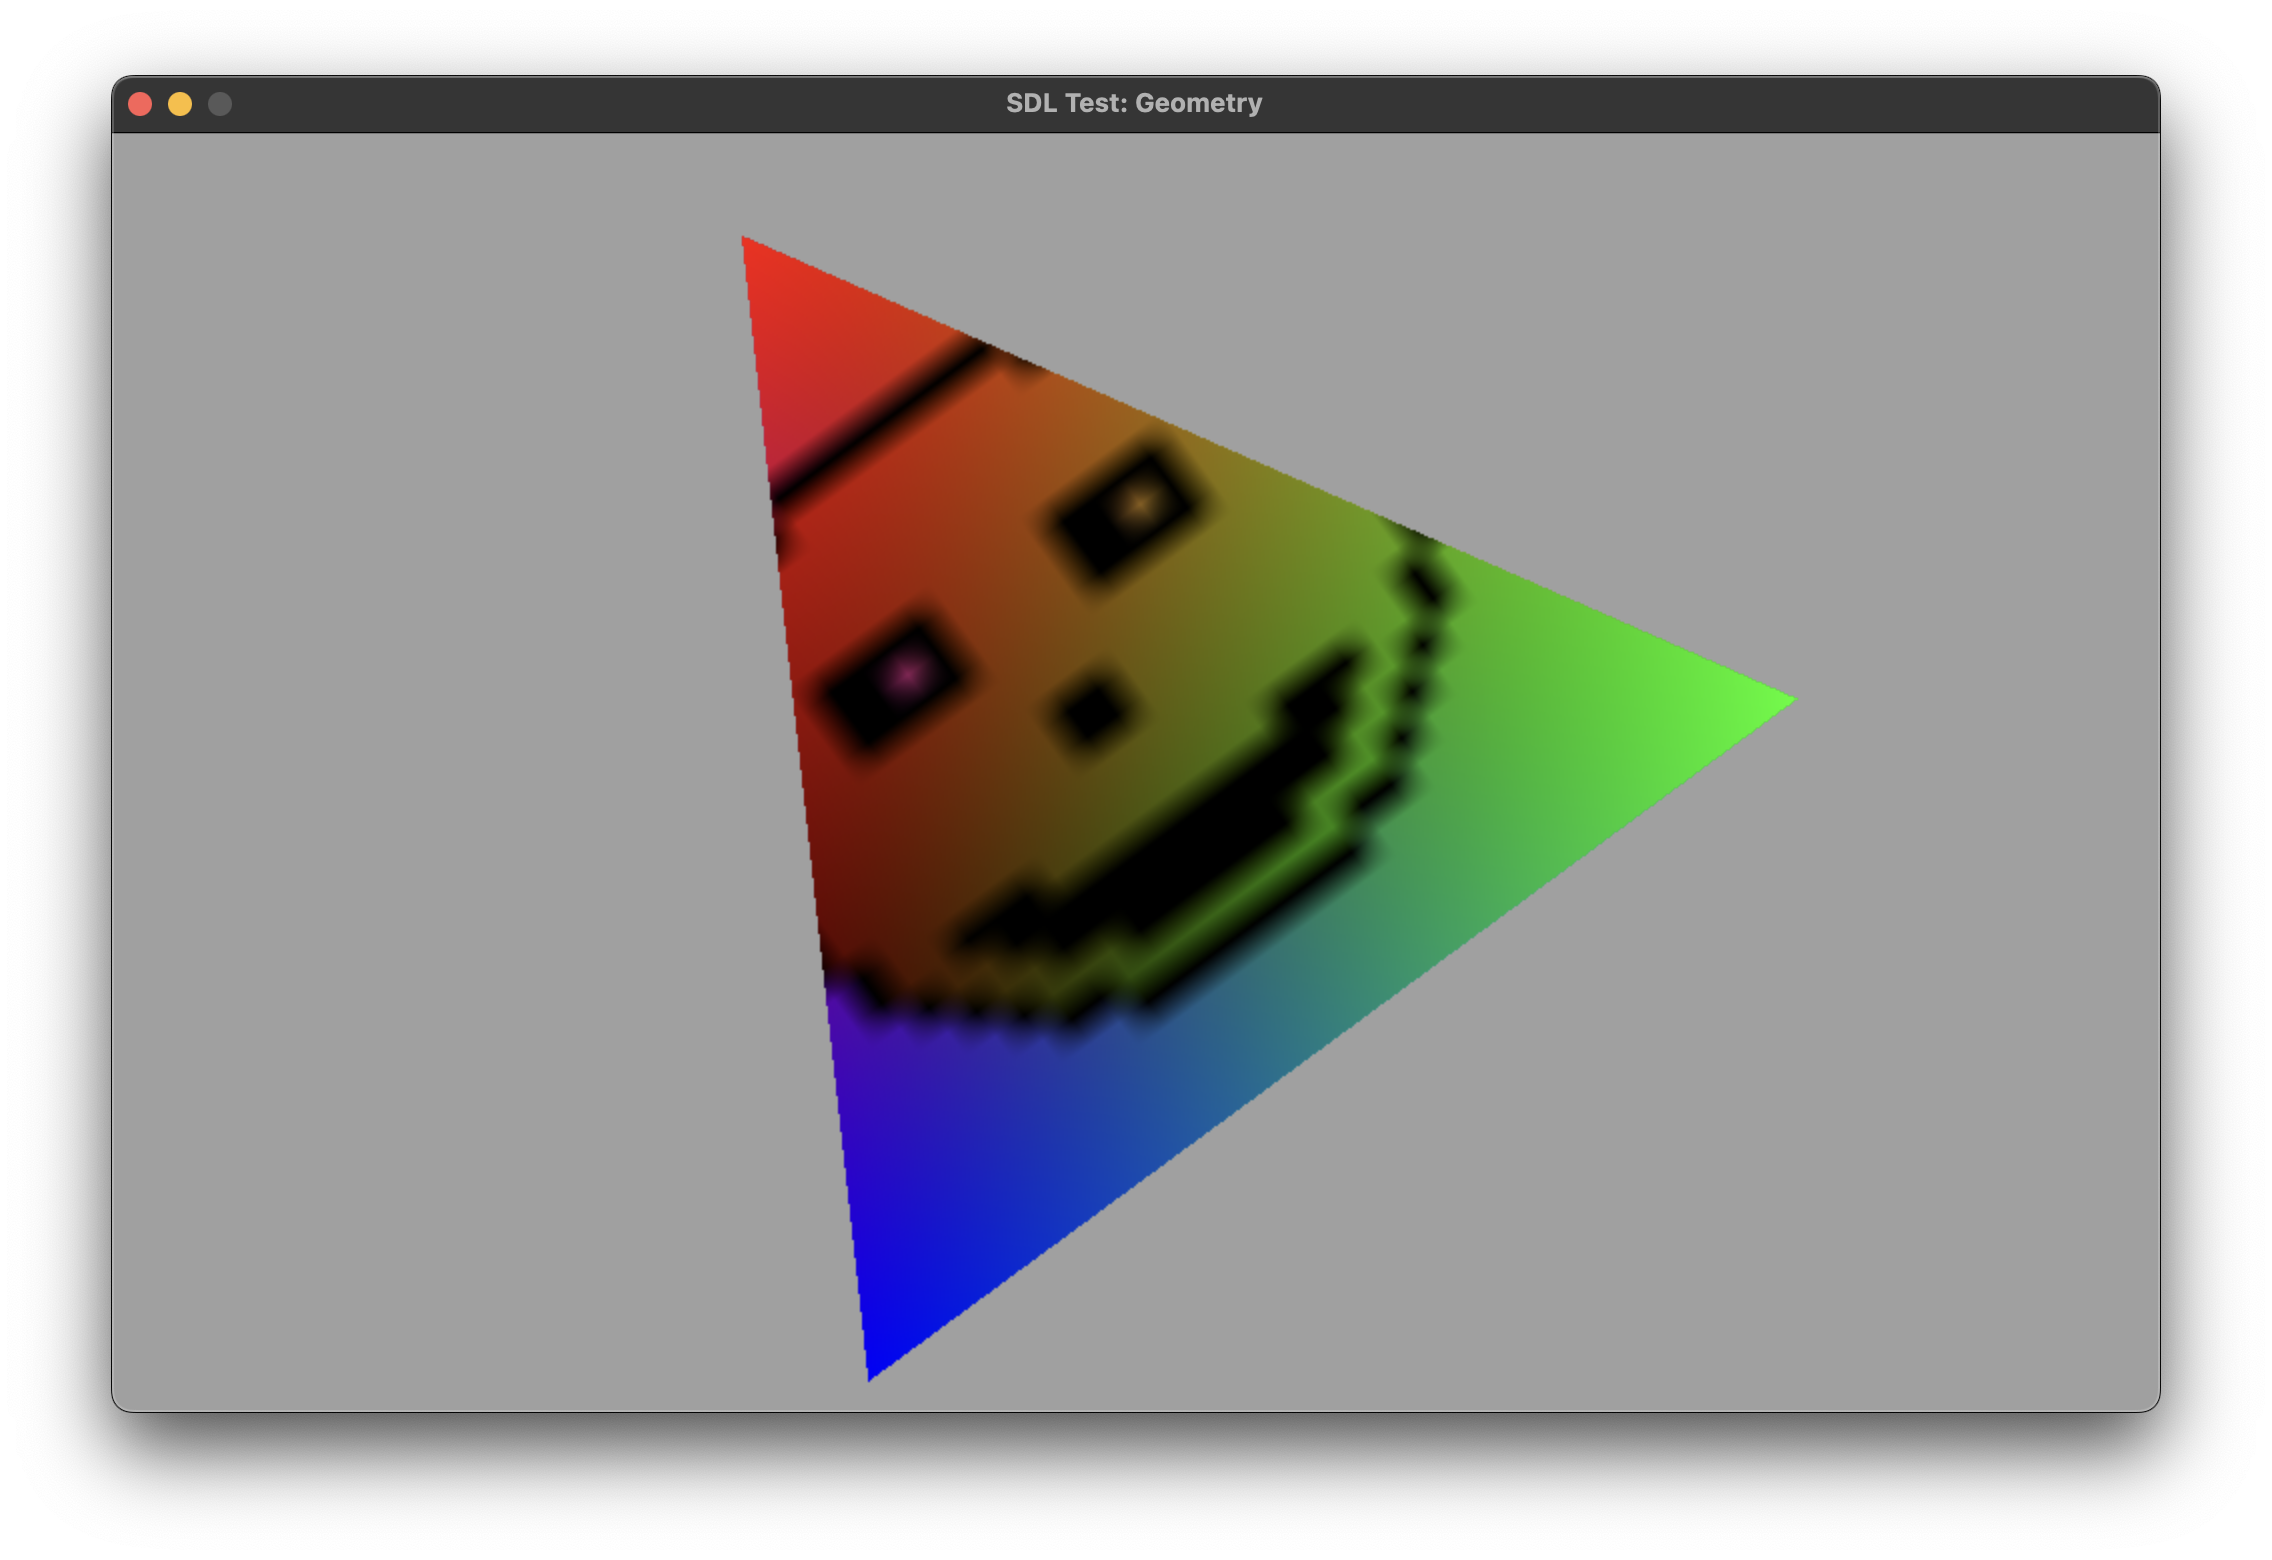
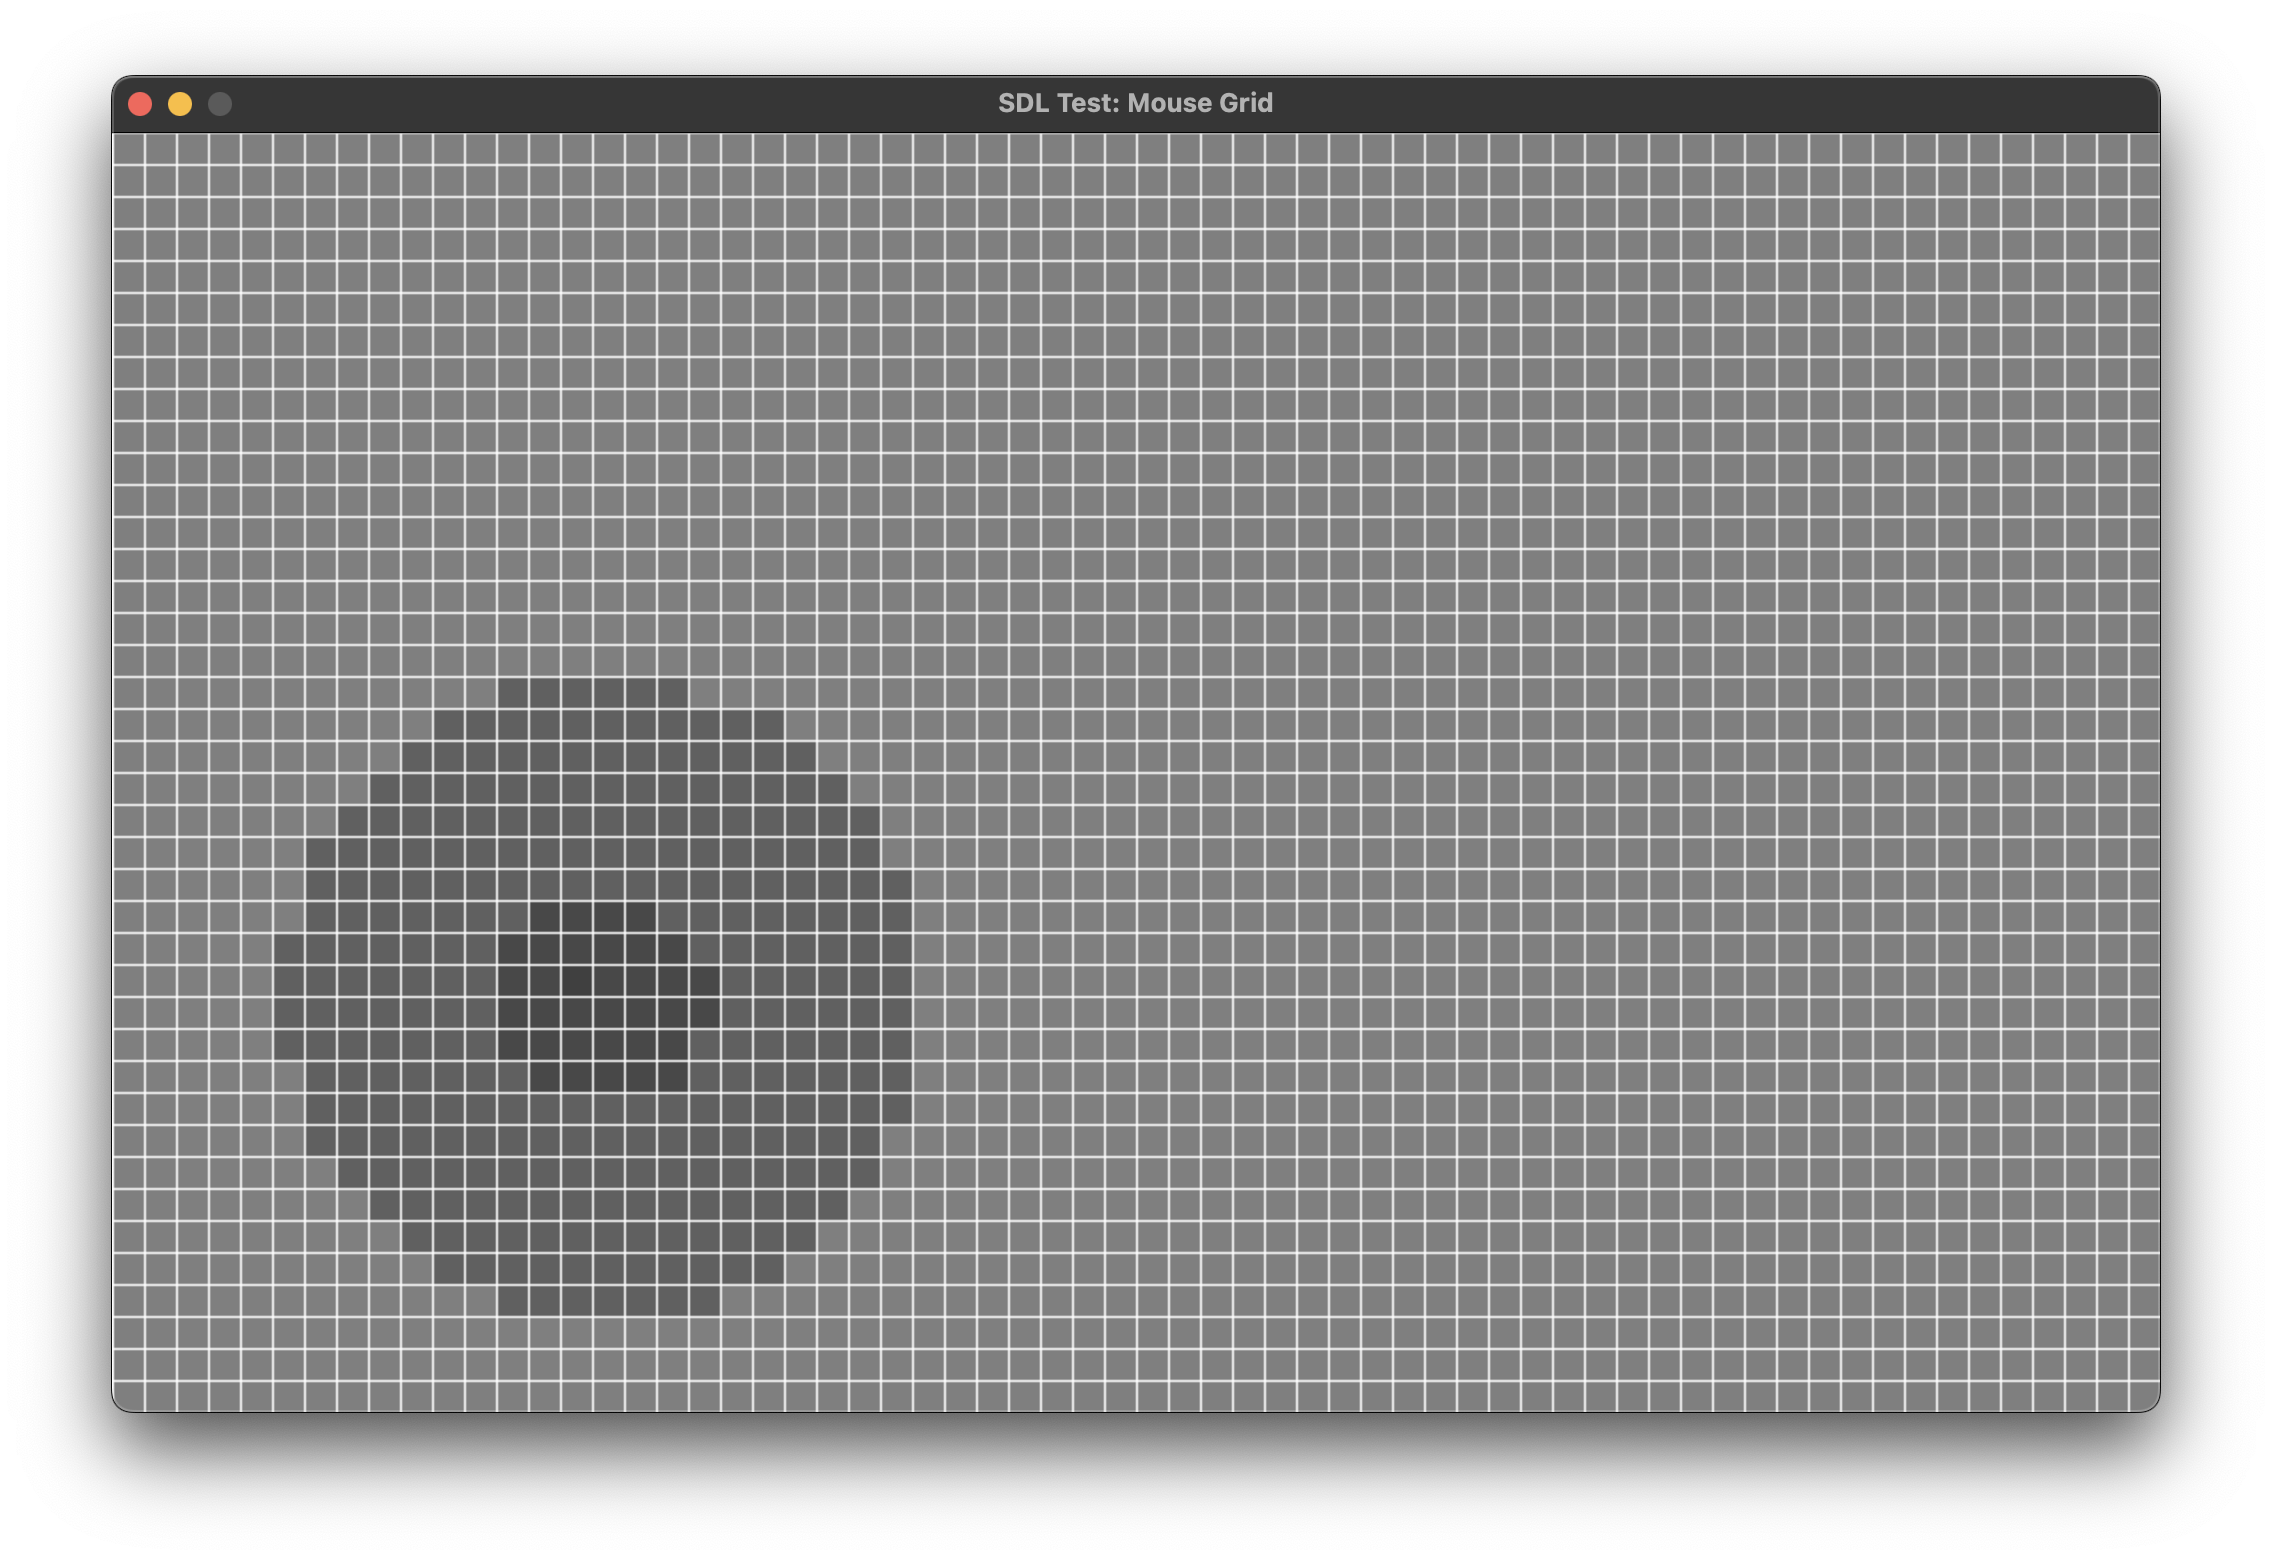
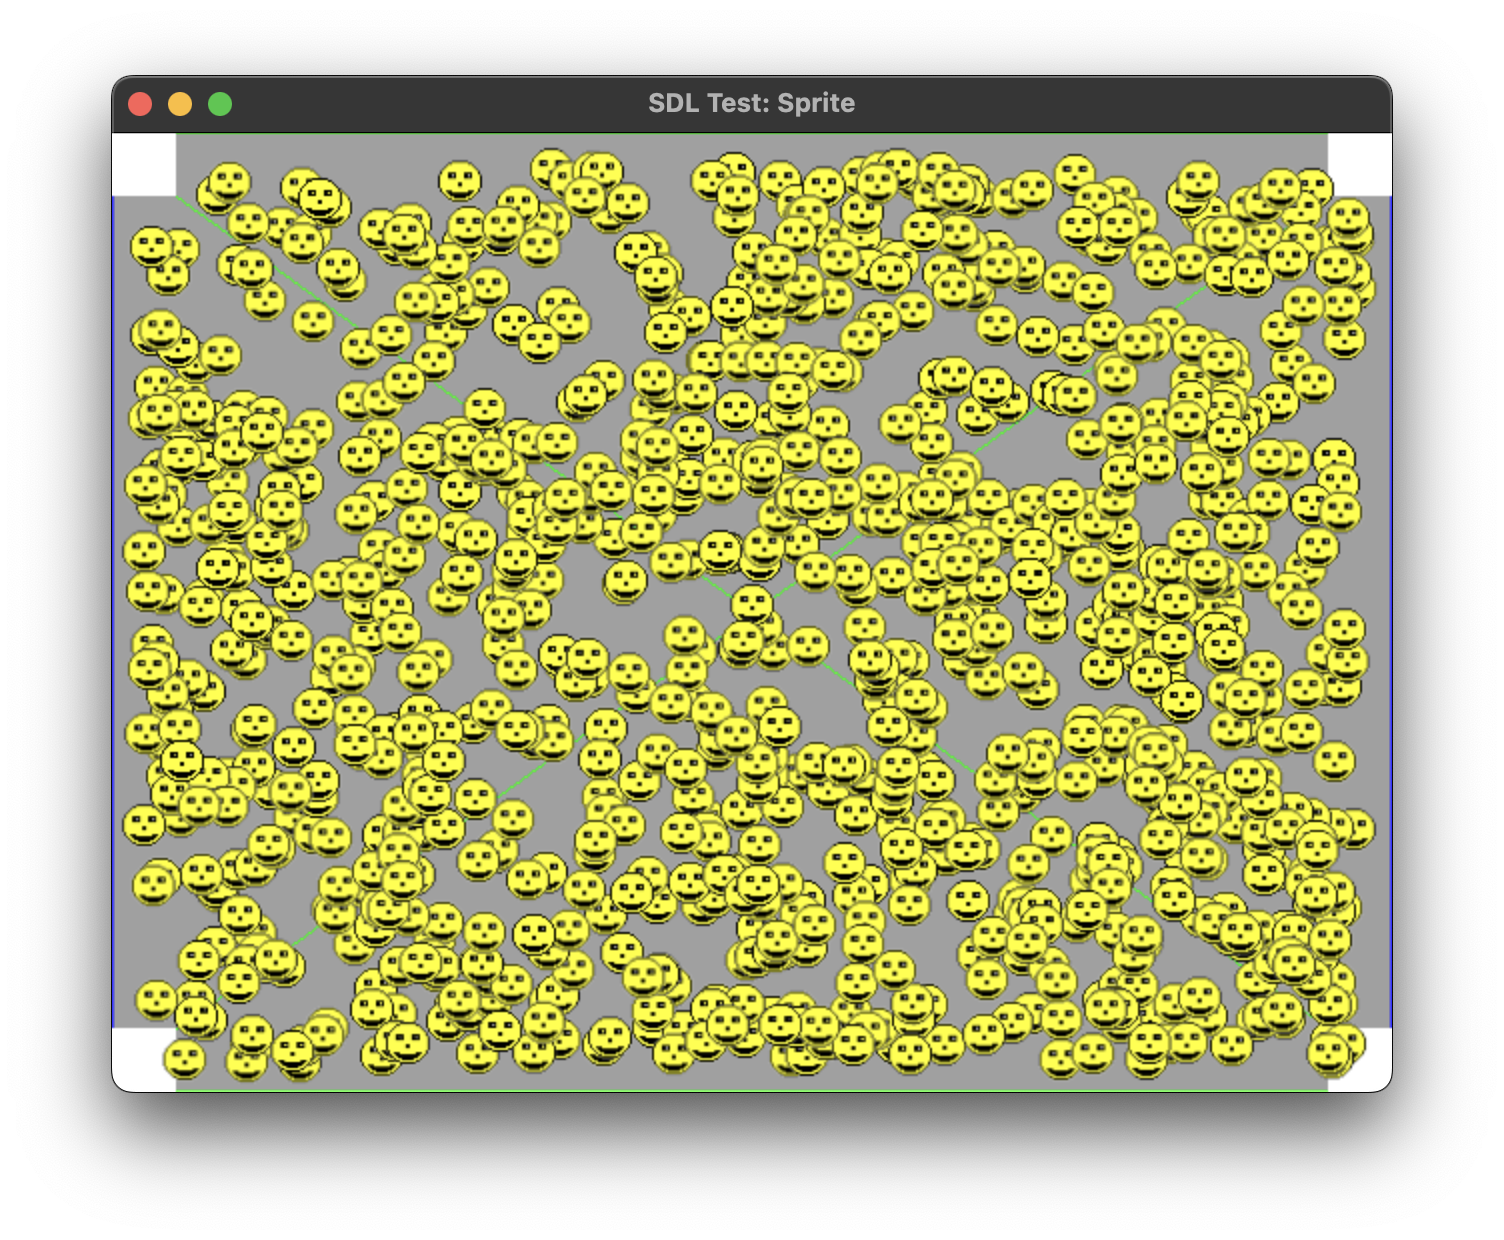
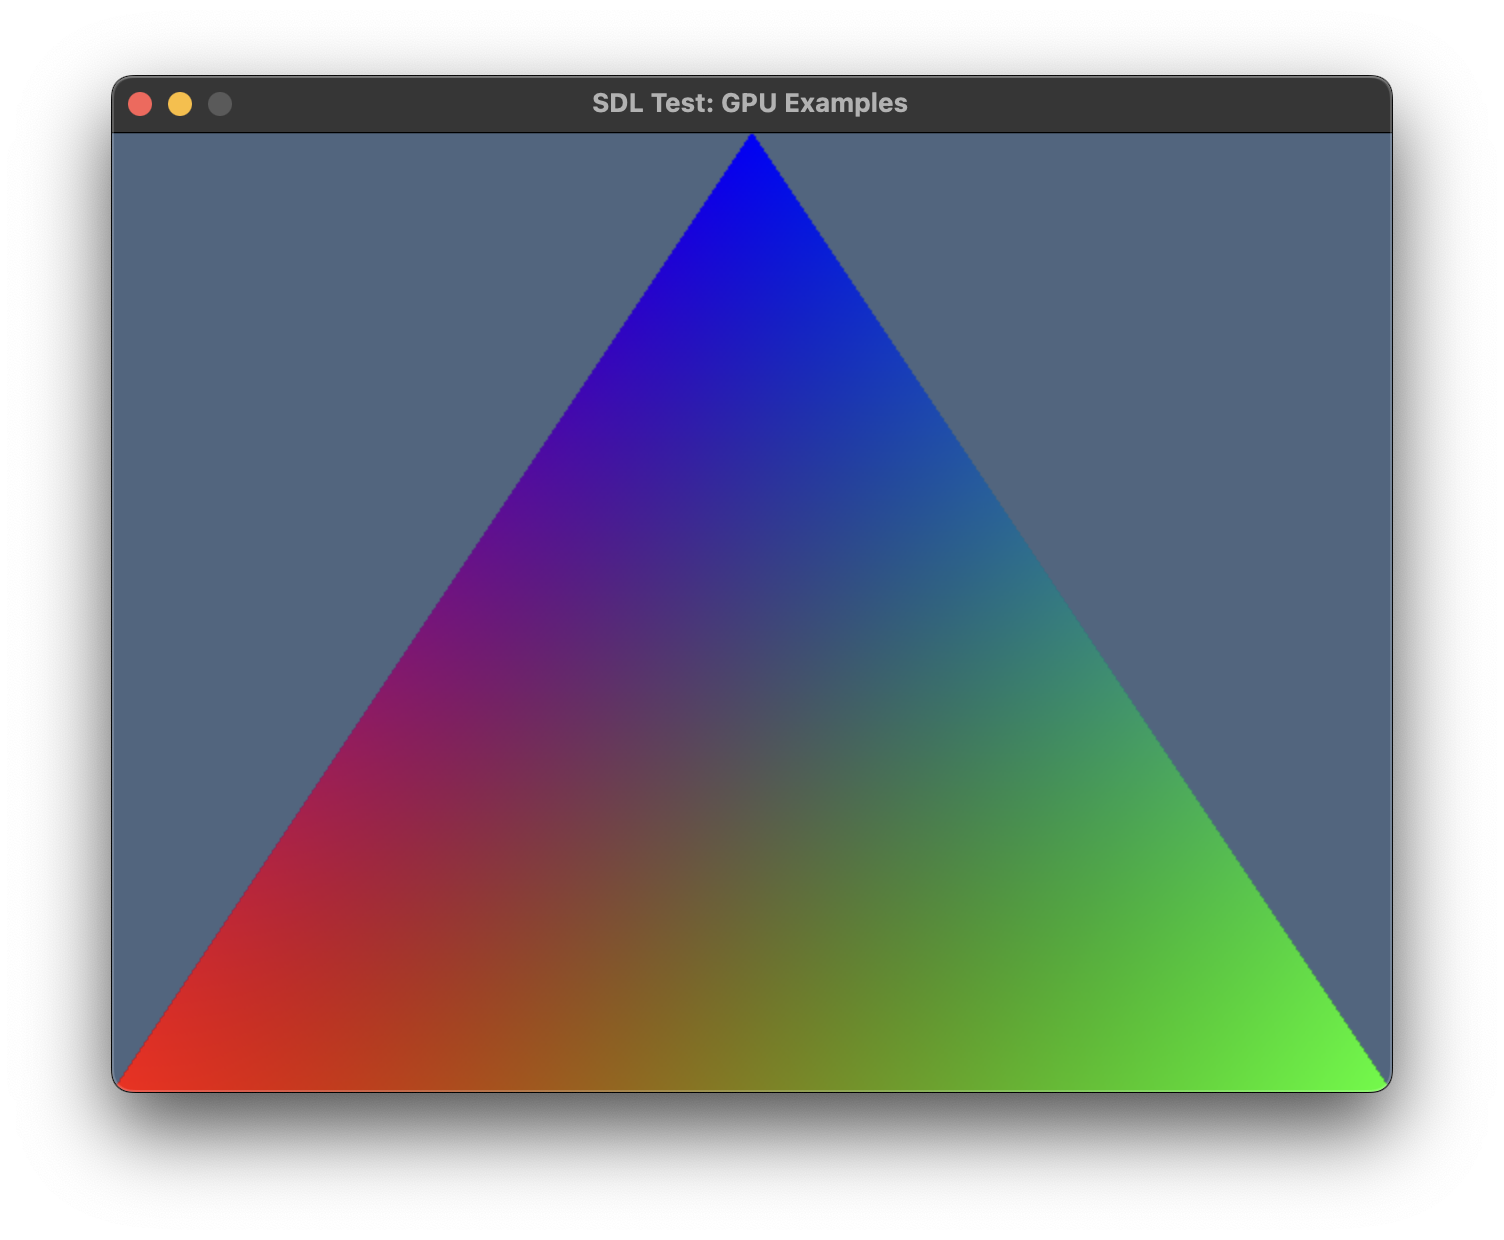
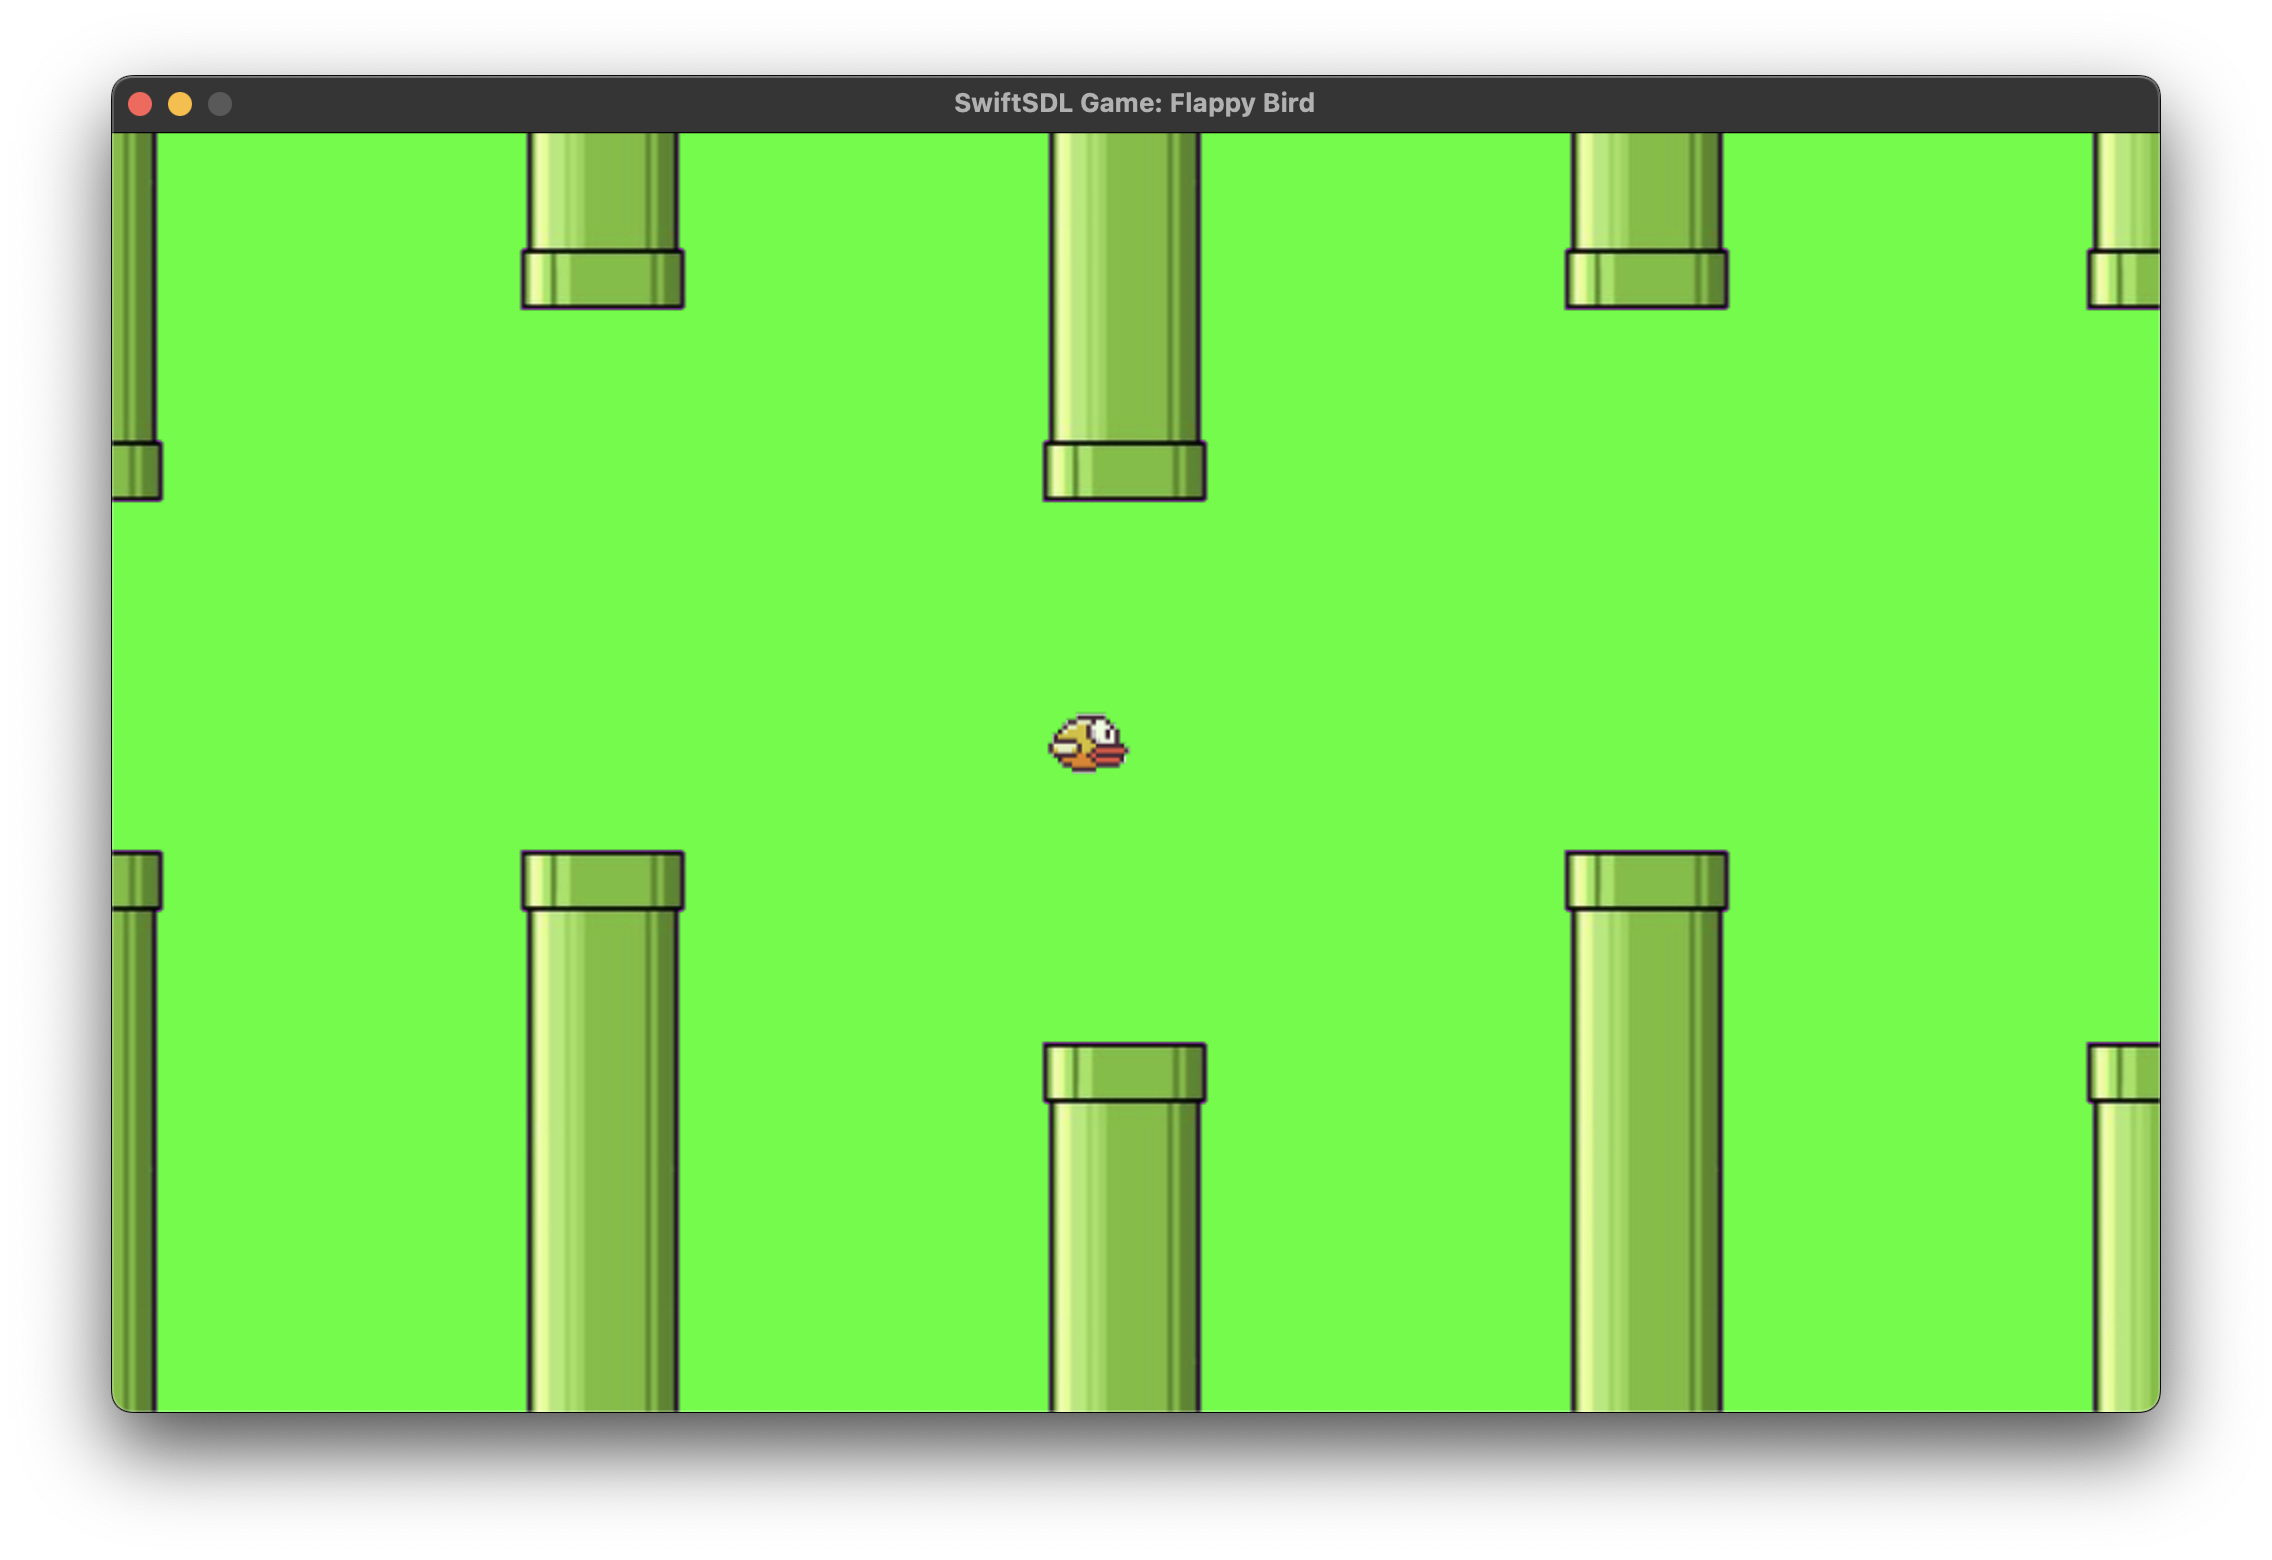
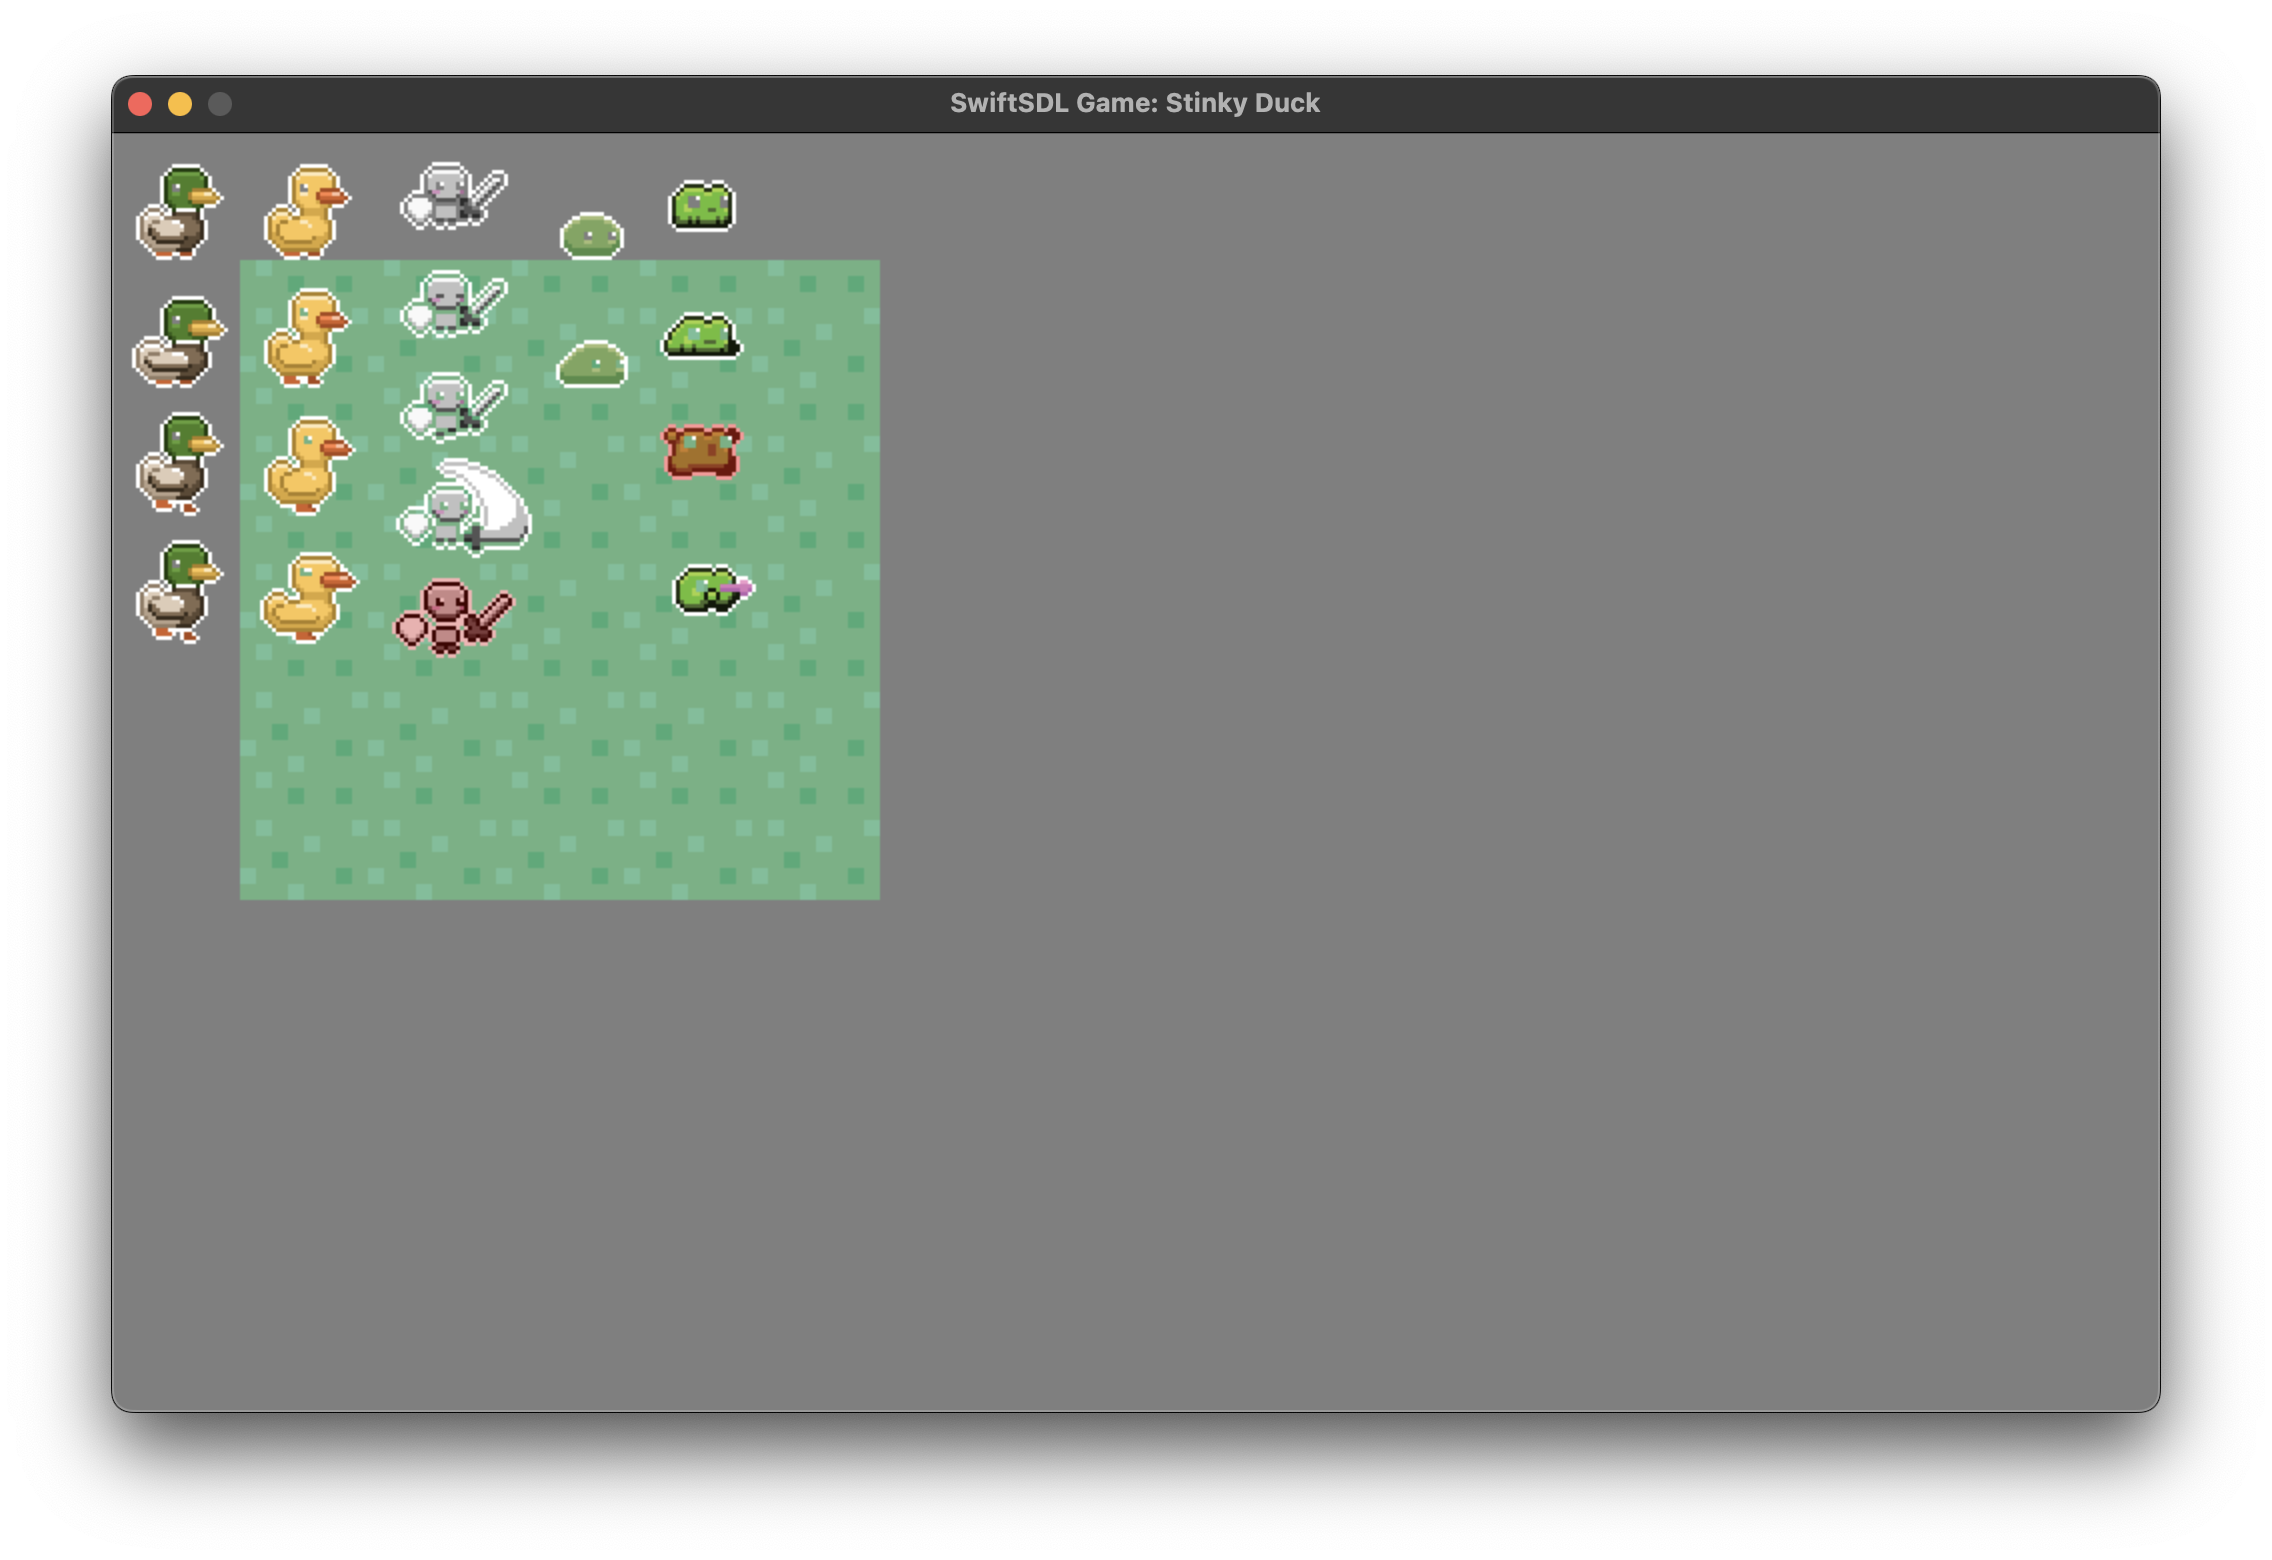
SwiftSDL 包含几个示例来帮助您入门。
这些是使用 SwiftSDL 对各种 SDL3 测试的重新实现
| 构建命令 | 图像预览 |
|---|---|
swift run sdl games flappy-bird |
 |
swift run sdl games stinky-duck |
 |
没有 SDL3,SwiftSDL 无法工作。 请参考以下部分以确保 SwiftSDL 正确编译。
只需将 SwiftSDL 添加到项目的 Package.swift 文件中,它就可以在 macOS、iOS 和 tvOS 上运行。 提供了包含 SDL3 库的预编译 XCFramework。
您不需要自己构建 XCFramework。 但是,如果您需要,可以使用可用的 Makefile
# Clone KevinVitale/SwiftSDL
git clone https://github.com/KevinVitale/SwiftSDL
cd SwiftSDL

# Build XCFramework...grab some ☕️
make build-sdl-xcframework
您必须从源代码构建并安装 SDL3。 值得庆幸的是,它很容易并且只需几分钟
- 为您游戏安装所需的任何依赖项; 并且,
- 从源代码构建并安装.
目前不支持 Windows。
SwiftSDL 在 MIT 许可证下开源。 有关详细信息,请参见 LICENSE 文件。


