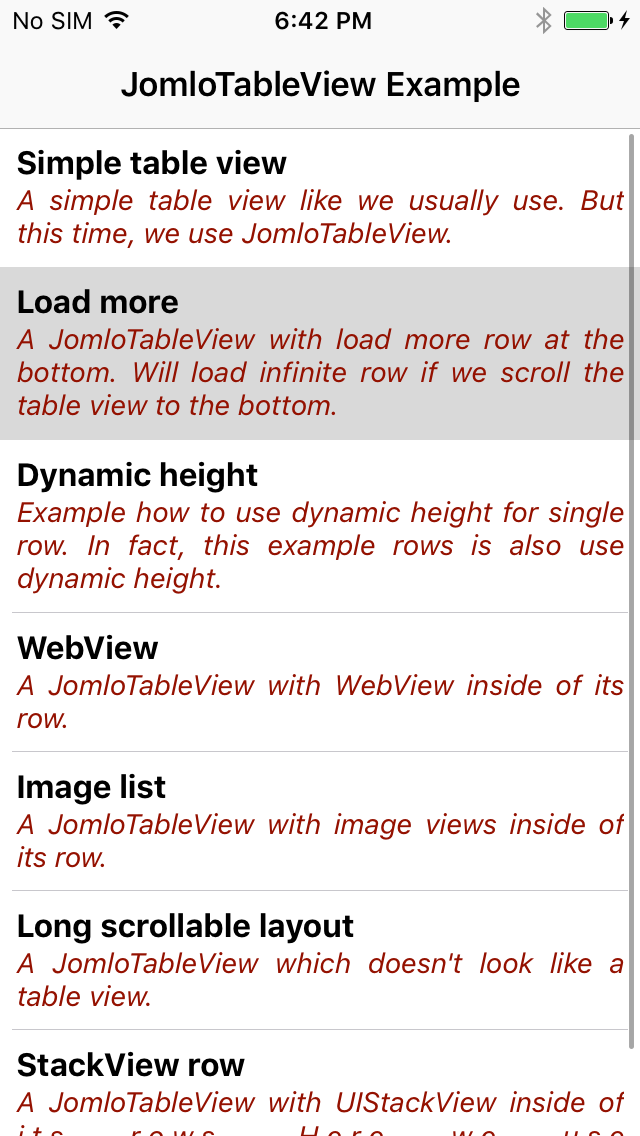
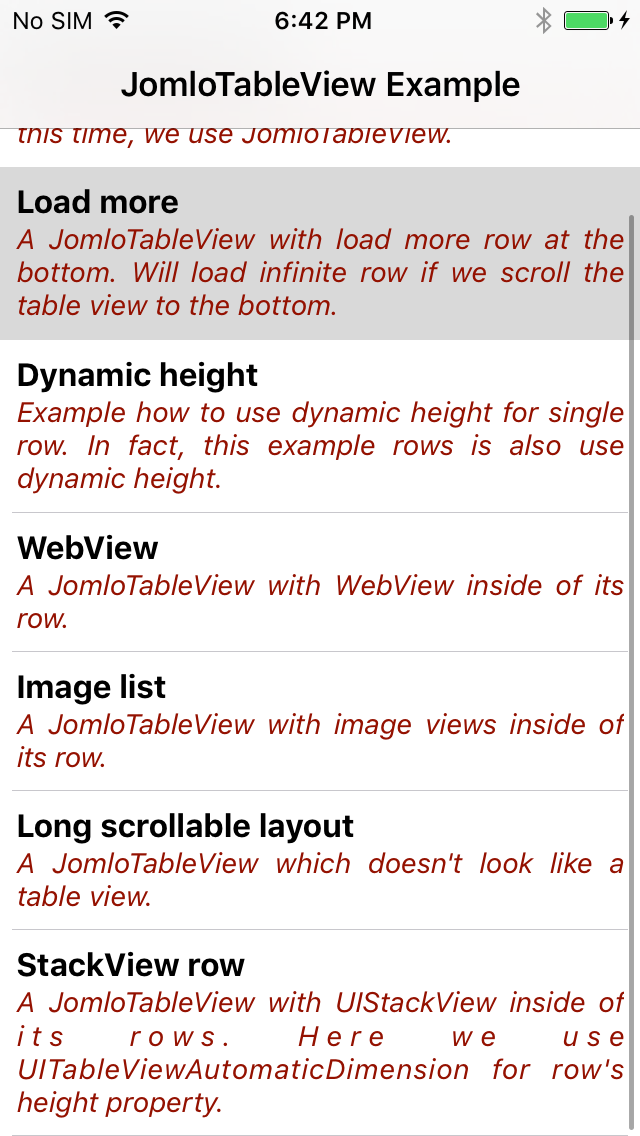
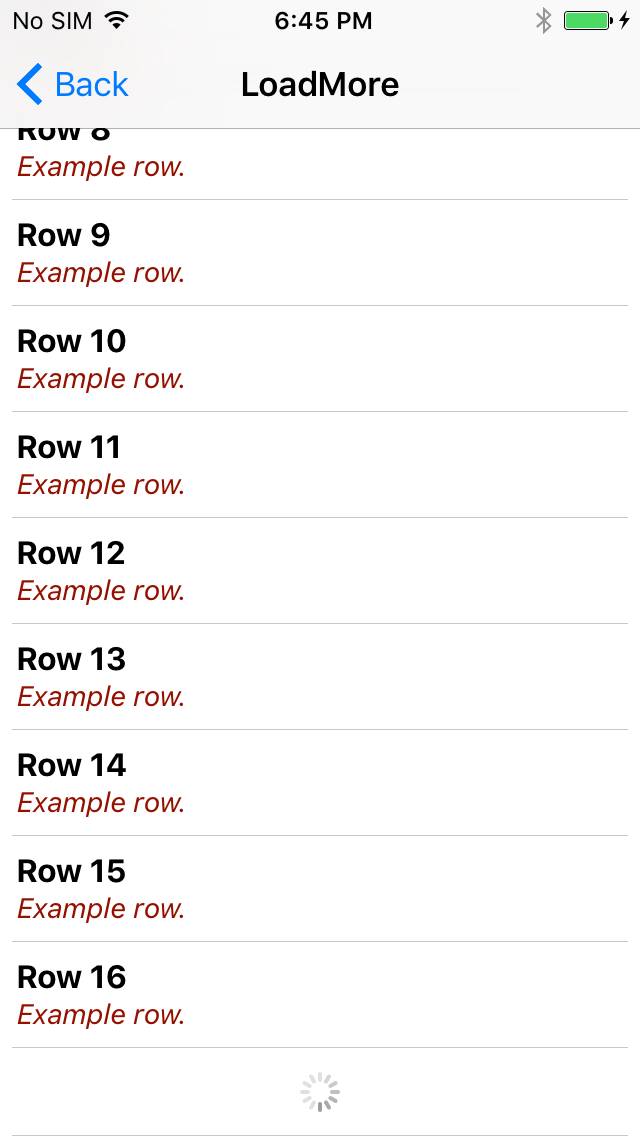
一个带有可分离 section 和 row 的 iOS UITableView。可以使用带有多个 row 的单个 section,或者带有多个 row 的多个 section。在每个 view controller 中遵循 UITableViewDelegate 和 UITableViewDataSource 是一项单调且重复的任务。将 delegate 和 data source 直接移动到 table view,并为 table 提供 section 和 row。将您从 Massive-View-Controller 中解放出来。
参考: https://goo.gl/zTGfpi, https://goo.gl/7vMbSF
要运行示例项目,请克隆 repo,并首先从 Example 目录运行 pod install。
git clone https://github.com/setoelkahfi/JomloTableView
cd Example
pod install
iOS 8
JomloTableView 可通过 CocoaPods 和 Swift Package Manager 获得。
要安装它,只需将以下行添加到您的 Podfile
pod "JomloTableView"
使用带有多个 row 的单个 section。以下所有 row 都来自单个类。
import UIKit
import JomloTableView

// Another code

    @IBOutlet var jomloTableView: JomloTableView!

    var exampleSection = JomloTableViewSection()

    override func viewDidLoad() {
        super.viewDidLoad()

        let row0 = SimpleRow("Simple table view", subTitle: "A simple table view like we usually use. But this time, we use JomloTableView.")
        row0.setOnRowClicked { (row) in
            self.performSegue(withIdentifier: "showSimpleTableViewExample", sender: self)
        }
        exampleSection.addRow(row: row0)

        let row1 = SimpleRow("Load more", subTitle: "A JomloTableView with load more row at the bottom. Will load infinite row if we scroll the table view to the bottom.")
        row1.setOnRowClicked { (row) in
            self.performSegue(withIdentifier: "showLoadMoreExample", sender: self)
        }
        exampleSection.addRow(row: row1)

        // Another rows to add

        jomloTableView.addSection(section: exampleSection)
        jomloTableView.reloadData()

    }

// Another code
Row
import UIKit
import JomloTableView

class SimpleCell: JomloTableViewCell {

    @IBOutlet var titleLabel: UILabel!
    @IBOutlet var subTitleLabel: UILabel!

}

class SimpleRow: JomloTableViewRow {

    var title: String!
    var subTitle: String!

    init(_ title: String, subTitle: String) {
        self.title = title
        self.subTitle = subTitle
    }

    override var identifier: String {
        return "SimpleCell"
    }

    override var rowHeight: CGFloat {
        return UITableViewAutomaticDimension
    }

    override var estimatedRowHeight: CGFloat {
        return 64
    }

    override func populateView(cell: JomloTableViewCell) {
        let cell = cell as! SimpleCell
        cell.titleLabel.text = title
        cell.subTitleLabel.text = subTitle
    }
}
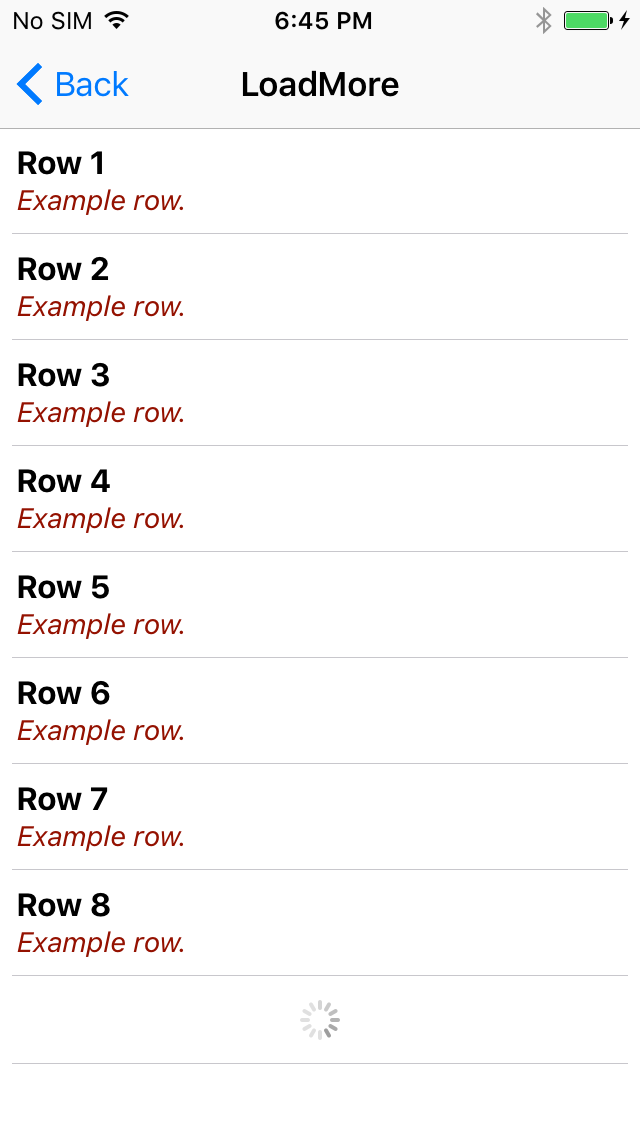
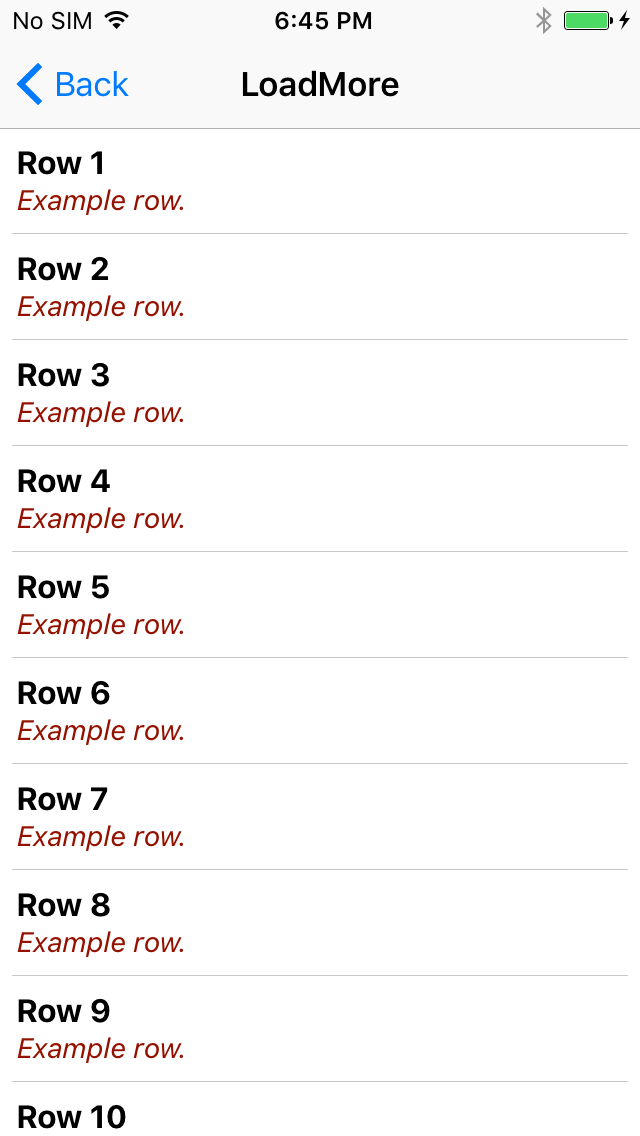
如果填充了 loadMoreRow,则此 table view 将加载更多 row。如果用户滚动到 table view 的底部,此示例将加载无限的 row。每次加载八个 row。
import UIKit
import JomloTableView

// Another code

    @IBOutlet var jomloTableView: JomloTableView!

    let tableSection = JomloTableViewSection()

    override func viewDidLoad() {
        super.viewDidLoad()

        jomloTableView.addSection(section: tableSection)
        addRows()
    }

    func addRows() {
        for _ in 0..<8 {
            let rowNumber = tableSection.count + 1
            let row = SimpleRow("Row \(rowNumber)", subTitle: "Example row.")
            tableSection.addRow(row: row)
        }

        addLoadMoreRow()
    }

    func addLoadMoreRow() {

        let loadMoreRow = LoadMoreRow {
            // To get the effect or loading, delay the execution after 3 seconds
            DispatchQueue.main.asyncAfter(deadline: DispatchTime.now() + 3, execute: {
                self.tableSection.removeLastRow()
                self.addRows()
            })
        }

        tableSection.addRow(row: loadMoreRow)
        jomloTableView.reloadData()
    }

// Another code
Seto Elkahfi, setoelkahfi@gmail.com
JomloTableView 在 MIT 许可证下可用。有关更多信息,请参见 LICENSE 文件。


