CardView 是一个功能丰富的 SwiftUI 组件,用于以卡片格式显示视图集合。它支持网格和水平滚动布局,并包含可选的缩放效果。
- 以网格或水平滚动布局显示视图
- 基于视图位置的可选缩放效果
- 可以轮播格式显示视图,并带有可选缩放
- 可自定义的视图尺寸和间距
- 接受内容视图数组
- 以轮播方式显示卡片
- 根据需求更改行数
- 根据选择的行数,数组中的内容会被调整
- 添加缩放效果
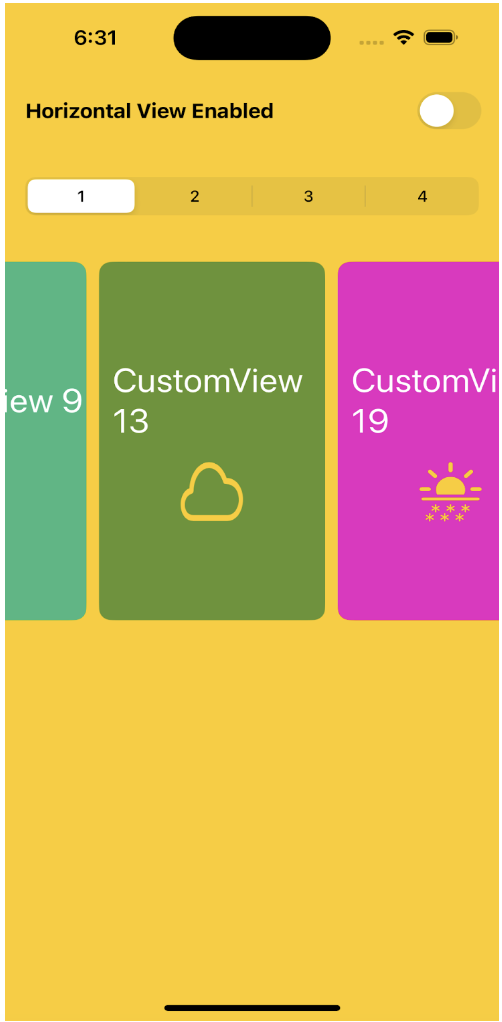
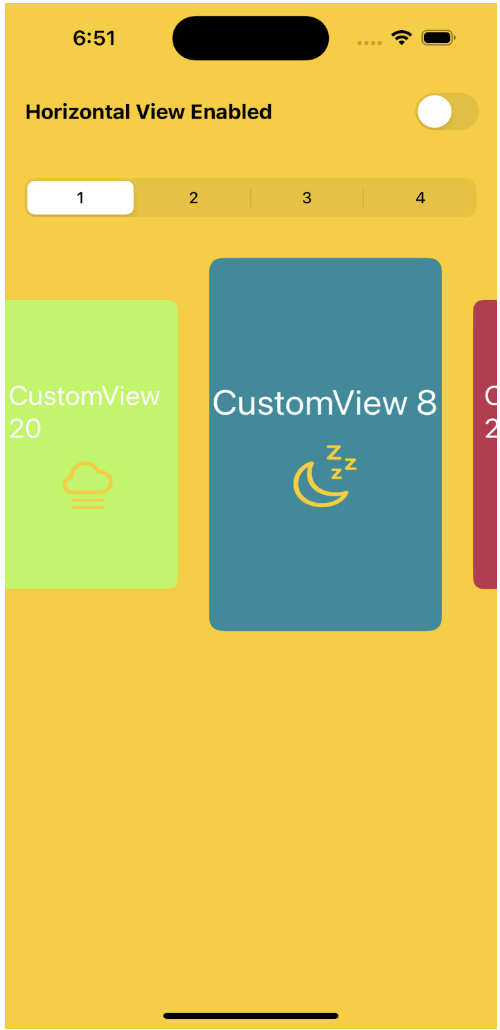
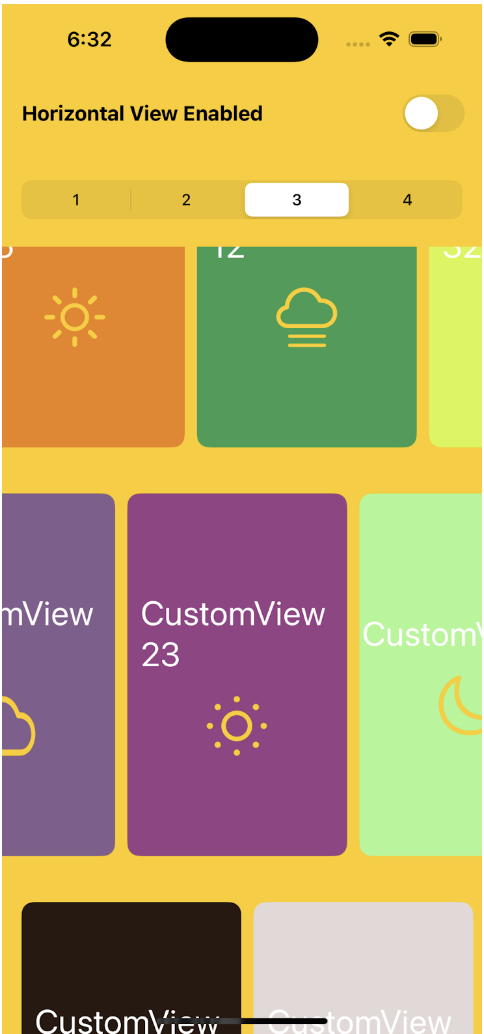
- 以网格方式显示卡片
- 根据需求更改列数
- 根据选择的列数,数组中的内容会被调整
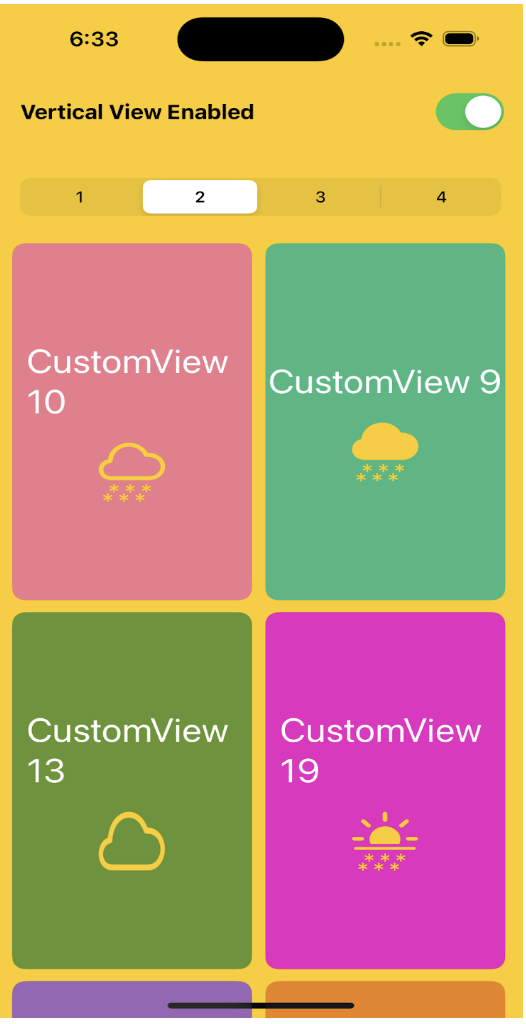
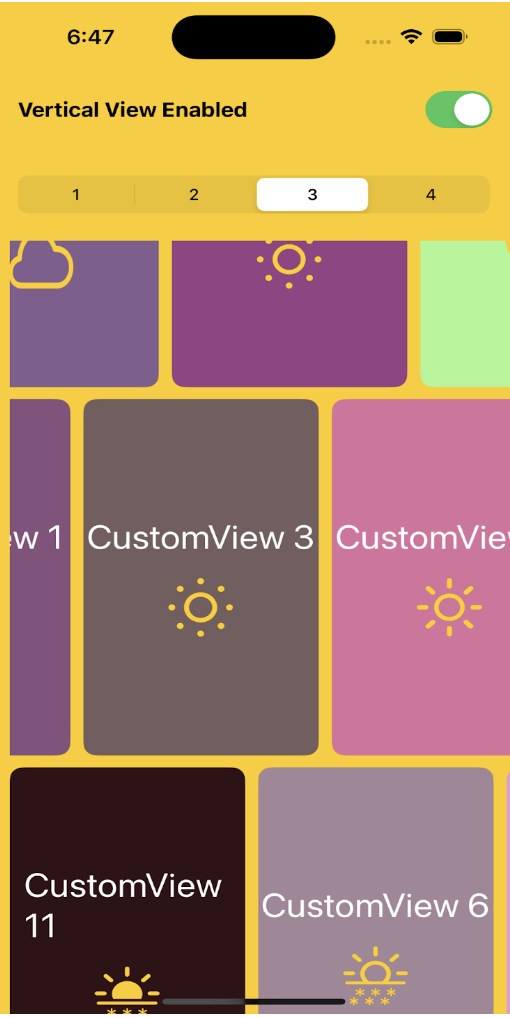
- 根据您的需求更改框架宽度
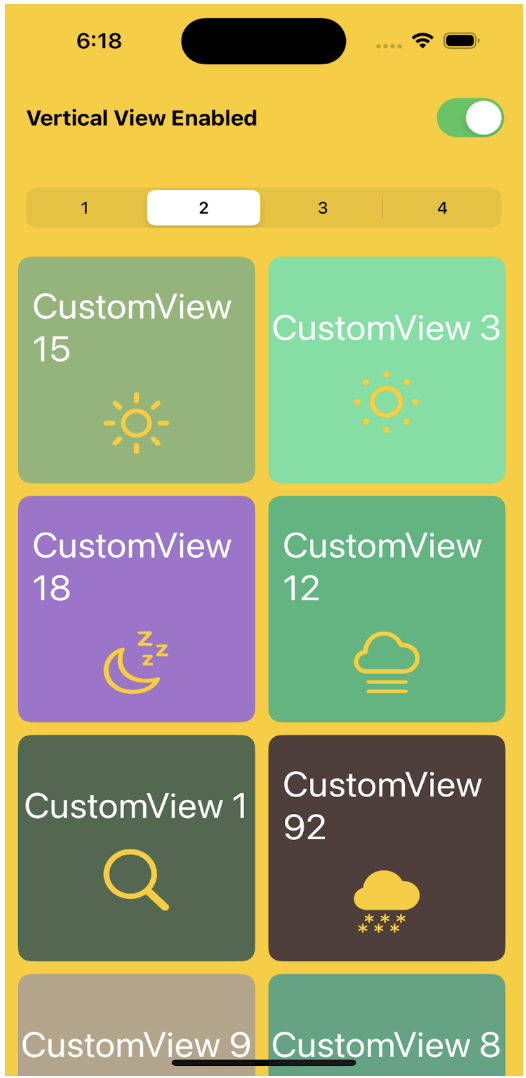
- viewsArray: [Binding<[AnyView]>] - 要显示的视图数组。
- gridView: Binding - 是否以网格布局或轮播格式(水平滚动)显示视图
- scale: Bool - 是否应用缩放效果。默认为 false。
- scaleFactor: CGFloat - 根据您的需求调整缩放量。默认为 1.1
- frameWidth: CGFloat - 每个视图的宽度。默认为 150。
- frameHeight: CGFloat - 每个视图的高度。默认为 150。
- additionalFrameHeight: CGFloat - 为水平滚动视图提供的额外高度,以避免视图重叠或断裂。默认为 30
- RowOrColumnNo: Binding - 网格布局中所需的列数或水平滚动布局中所需的行数。
- verticalSpacing: 卡片之间的垂直间距。默认为 10。
- horizontalSpacing: 卡片之间的水平间距。默认为 10。
- onTap: ((Int) -> Void)? - 用于处理视图点击手势的可选闭包。
-
通过 Swift Package Manager 将包添加到您的项目中 https://swiftpackageindex.cn/softsuave-tech-matrix/adaptive_card_layout
-
或者,您也可以通过 Cocoapods 安装,pod 'adaptive_card_layout'
步骤 1
- 创建您想要在卡片中显示的自定义视图
import SwiftUI

struct CustomView1: View {

    var text: String
    var color: Color
    var image: String

    var body: some View {
        VStack(alignment:.center) {
            Text(text)
                .font(.title)
                .foregroundColor(.white)
            Image(systemName: image)
                .resizable()
                .frame(width: 50, height: 50)
                .foregroundColor(.yellow)

        }
        .frame(width: 180, height: 300)
        .background(color)
        .cornerRadius(10)
        .padding()
    }
}
步骤 2
-
在您的父视图中导入 CardViewAdvanced 库
-
根据您的需求创建一个视图数组
private var imageArray: [String:String] = ["CustomView 1":"magnifyingglass","CustomView 32":"moon.fill","CustomView 23":"sun.min","CustomView 33": "cloud","CustomView 4":"moon","CustomView 5":"sun.max","CustomView 6":"sun.snow", "CustomView 7":"sun.max.fill", "CustomView 8":"moon.zzz", "CustomView 92":"cloud.snow.fill", "CustomView 22":"cloud.snow", "CustomView 11":"sun.snow.fill","CustomView 12": "cloud.fog", "CustomView 21":"magnifyingglass","CustomView 2":"moon.fill","CustomView 3":"sun.min","CustomView 13": "cloud","CustomView 14":"moon","CustomView 15":"sun.max","CustomView 16":"sun.snow", "CustomView 17":"sun.max.fill", "CustomView 18":"moon.zzz", "CustomView 9":"cloud.snow.fill", "CustomView 10":"cloud.snow", "CustomView 19":"sun.snow.fill","CustomView 20": "cloud.fog"]

  @State private var viewsArray: [AnyView] = []

  init() {
      _viewsArray = State(initialValue: imageArray.map { item in
          AnyView(CustomView1(text: item.key, color: Color.random, image: item.value))
      })
  }
步骤 3
- 在您的父视图中传递视图数组
- 根据您的需求设置参数值
CardView(viewsArray: $viewsArray, scale: true, frameWidth: 180, frameHeight: 300,additionalFrameHeight: 30, gridView: $isGridView, RowOrcolumnNo: $columnNo) { indexNo in
print(indexNo)
}
欢迎任何贡献!对于重大更改,请先打开一个 issue 讨论您想要更改的内容。
请确保适当地更新测试。
如果您有任何反馈,请通过 techmatrix@softsuave.com 联系我们