在 iOS 上启用 Telnyx 实时通信服务。📞 🔥
- SDK 项目:启用 Telnyx WebRTC 通信。
- SDK 测试项目。
- 演示应用项目。
- 克隆仓库
- 运行命令
pod install以安装项目根文件夹中的依赖项。 - 打开 Workspace :
TelnyxRTC.xcworkspace - 您将找到 3 个要构建的目标
- SDK
- SDK 测试
- 演示应用
- 选择目标
TelnyxRTC (TelnyxRTC Project)以构建 SDK
-
选择目标
TelnyxWebRTCDemo以运行演示应用。应手动构建 SDK 以使应用运行(步骤 5) -
尽情享用 😎
| 凭据 | 呼出电话 | 呼入电话 |
 |
 |
 |
为了开始使用 TelnyxRTC SDK 拨打和接听电话,您需要获取 SIP 凭据
- 访问 https://portal.telnyx.com/
- 注册一个 Telnyx 账户。
- 创建一个凭据连接以配置您连接呼叫的方式。
- 创建一个出站语音配置文件以配置您的出站呼叫设置,并将其分配给您的凭据连接。
有关如何生成 SIP 凭据的更多信息,请查看 Telnyx WebRTC 快速入门指南。
目前,iOS SDK 使用 cocoapods 支持。
如果您的 xcode 项目尚未使用 cocoapods,您将需要对其进行配置。
- 打开您的 podfile 并添加 TelnyxRTC。
pod 'TelnyxRTC', '~> 0.1.0'
- 安装您的 pods。您可以添加标志 --repo-update 以确保您的 cocoapods 已更新规范。
pod install --repo-update
- 打开您的 .xcworkspace
- 在您的类的顶层导入 TelnyxRTC
import TelnyxRTC
- 禁用 BITCODE(GoogleWebRTC 依赖项已禁用 BITCODE):转到您的应用目标的“Build Settings”(构建设置)选项卡,搜索“bitcode”并将其设置为“NO”
- 启用 VoIP 和音频后台模式:转到“Signing & Capabilities”(签名与功能)选项卡,按 +Capability 按钮并添加这些后台模式
- 转到您的 Info.plist 文件并添加“Privacy - Microphone Usage Description”(隐私 - 麦克风使用描述)键,并附上描述,说明您的应用需要麦克风访问权限才能进行 VoIP 呼叫。
- 一切就绪!
Xcode 内置支持 Swift package manager。要添加软件包
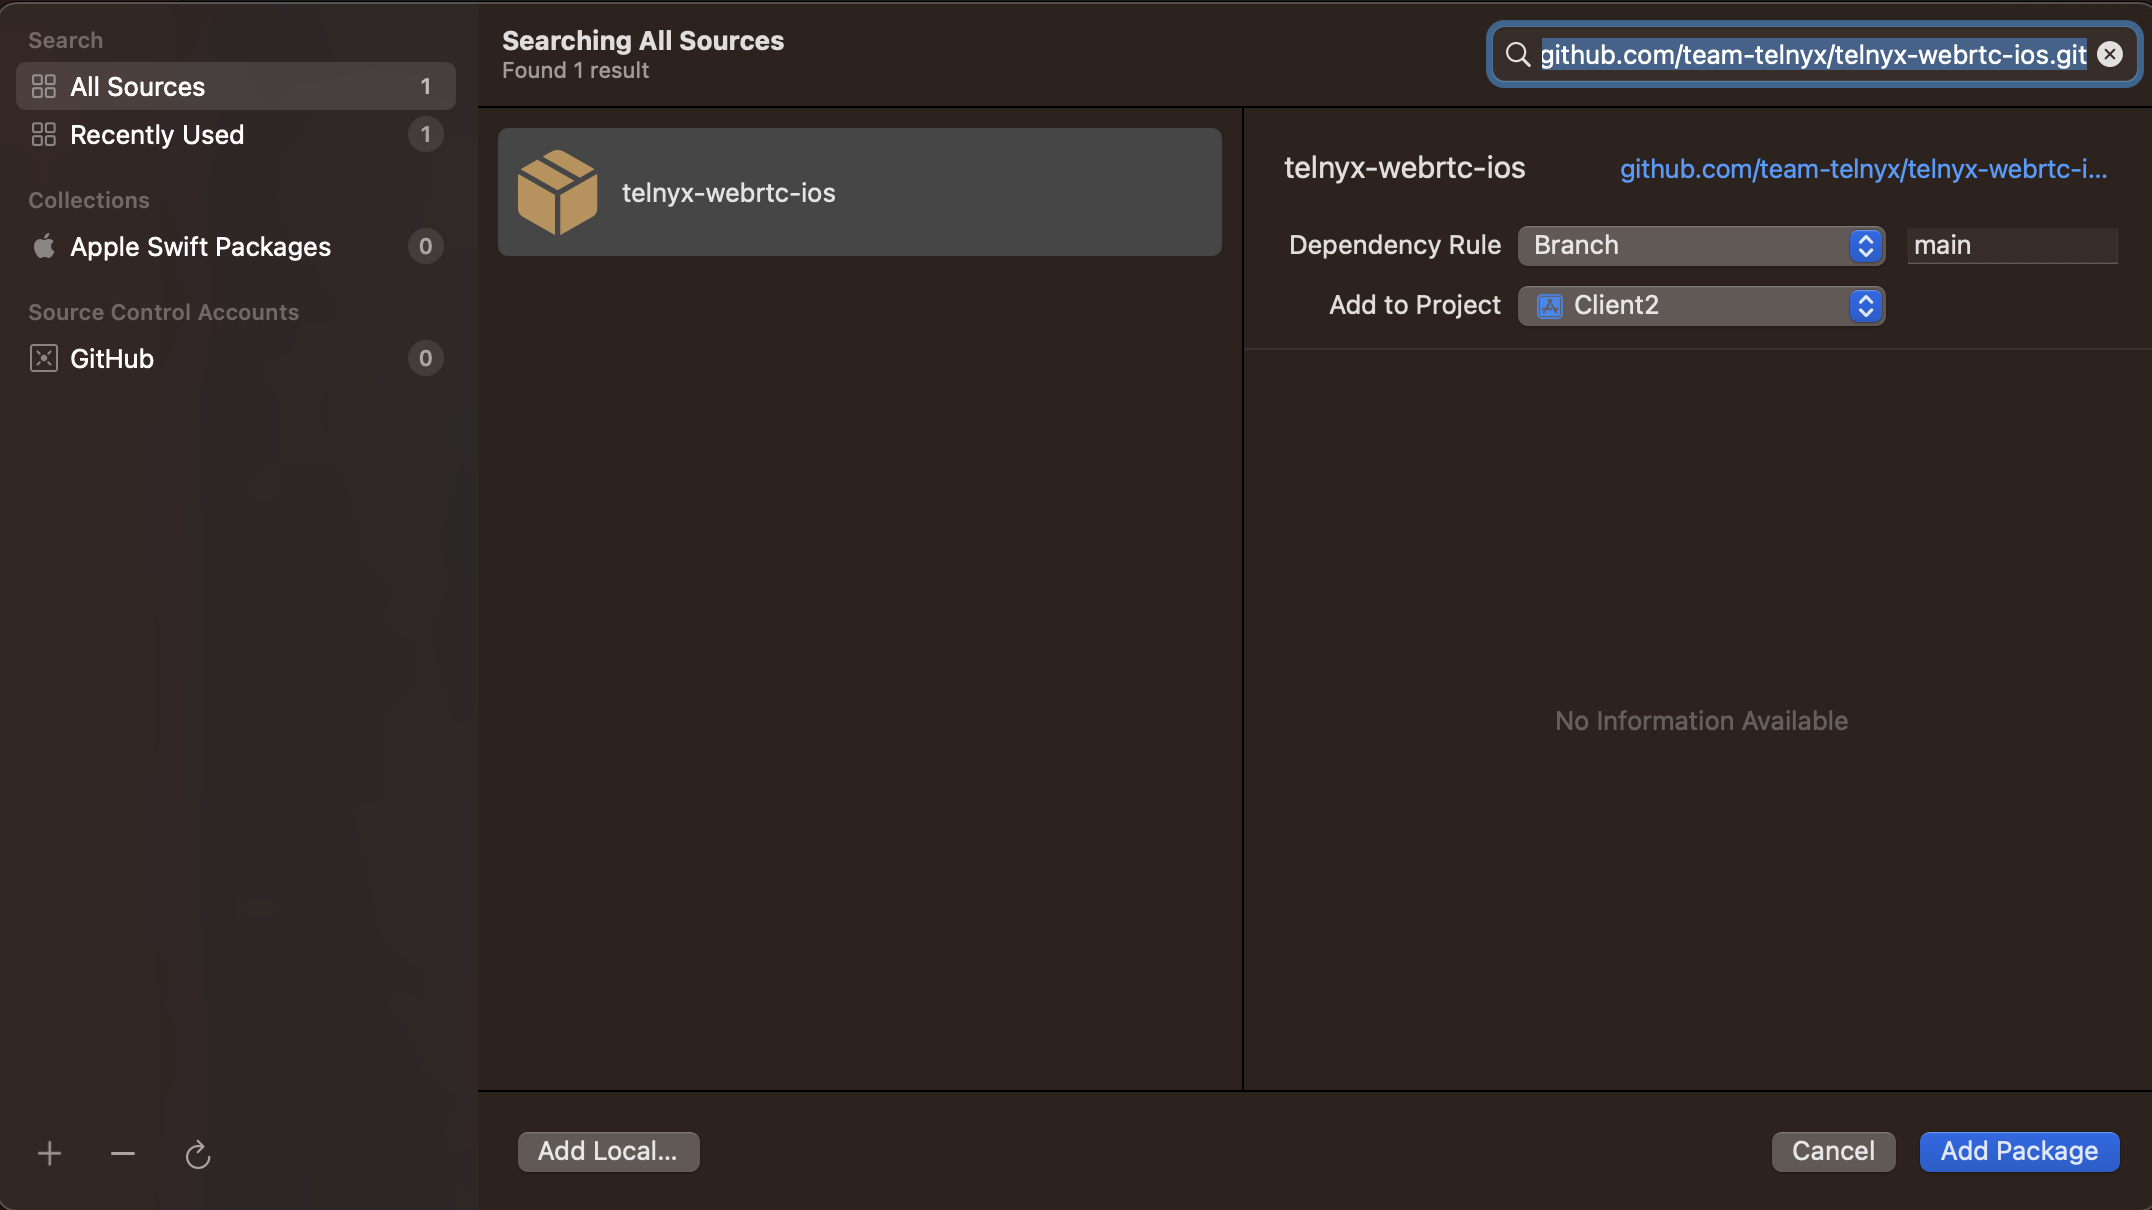
- 选择 Files > Add Packages(文件 > 添加软件包)
- 在 Swift Package Manager 屏幕上,搜索 https://github.com/team-telnyx/telnyx-webrtc-ios.git 软件包。
- 选择 main brach(主分支)并单击 Add Package(添加软件包)
注意:如果“Add Package”(添加软件包)卡在下载中,请尝试 File > Packages > Reset Package Caches(文件 > 软件包 > 重置软件包缓存),或在终端中运行命令 rm -rf ~/Library/Caches/org.swift.swiftpm/
在 Apple 文档 中阅读更多内容
提示:使用 Cocoapods 或 Swift Package Manager 来管理单个软件包,以避免重复的二进制文件
// Initialize the client
let telnyxClient = TxClient()

// Register to get SDK events
telnyxClient.delegate = self

// Setup yor connection parameters.

// Set the login credentials and the ringtone/ringback configurations if required.
// Ringtone / ringback tone files are not mandatory.
// You can user your sipUser and password
let txConfigUserAndPassowrd = TxConfig(sipUser: sipUser,
                                       password: password,
                                       pushDeviceToken: "DEVICE_APNS_TOKEN",
                                       ringtone: "incoming_call.mp3",
                                       ringBackTone: "ringback_tone.mp3",
                                       // Force TURN relay to avoid local network access
                                       forceRelayCandidate: true,
                                       //You can choose the appropriate verbosity level of the SDK.
                                       //Logs are disabled by default
                                       logLevel: .all)

// Or use a JWT Telnyx Token to authenticate
let txConfigToken = TxConfig(token: "MY_JWT_TELNYX_TOKEN",
                             pushDeviceToken: "DEVICE_APNS_TOKEN",
                             ringtone: "incoming_call.mp3",
                             ringBackTone: "ringback_tone.mp3",
                             // Force TURN relay to avoid local network access
                             forceRelayCandidate: true,
                             //You can choose the appropriate verbosity level of the SDK. Logs are disabled by default
                             logLevel: .all)

do {
   // Connect and login
   // Use `txConfigUserAndPassowrd` or `txConfigToken`
   try telnyxClient.connect(txConfig: txConfigToken)
} catch let error {
   print("ViewController:: connect Error \(error)")
}

// You can call client.disconnect() when you're done.
Note: you need to release the delegate manually when you are done.

// Disconnecting and Removing listeners.
telnyxClient.disconnect();

// Release the delegate
telnyxClient.delegate = nil
您需要实例化客户端并设置委托。
// Initialize the client
let telnyxClient = TxClient()

// Register to get SDK events
telnyxClient.delegate = self
然后您将收到以下事件
extension ViewController: TxClientDelegate {

    func onRemoteCallEnded(callId: UUID) {
        // Call has been removed internally.
    }

    func onSocketConnected() {
       // When the client has successfully connected to the Telnyx Backend.
    }

    func onSocketDisconnected() {
       // When the client from the Telnyx backend
    }

    func onClientError(error: Error)  {
        // Something went wrong.
    }

    func onClientReady()  {
       // You can start receiving incoming calls or
       // start making calls once the client was fully initialized.
    }

    func onSessionUpdated(sessionId: String)  {
       // This function will be executed when a sessionId is received.
    }

    func onIncomingCall(call: Call)  {
       // Someone is calling you.
       // This delegate method will be called when the app is in foreground and the Telnyx Client is connected.
    }

    func onPushCall(call: Call) {
       // If you have configured Push Notifications and app is in background or the Telnyx Client is disconnected
       // this delegate method will be called after the push notification is received.
       // Update the current call with the incoming call
       self.currentCall = call
    }


    // You can update your UI from here based on the call states.
    // Check that the callId is the same as your current call.
    func onCallStateUpdated(callState: CallState, callId: UUID) {
      // handle the new call state
      switch (callState) {
      case .CONNECTING:
          break
      case .RINGING:
          break
      case .NEW:
          break
      case .ACTIVE:
          break
      case .DONE:
          break
      case .HELD:
          break
      }
    }
}
   // Create a client instance
   self.telnyxClient = TxClient()

   // Asign the delegate to get SDK events
   self.telnyxClient?.delegate = self

   // Connect the client (Check TxClient class for more info)
   self.telnyxClient?.connect(....)

   // Create the call and start calling
   self.currentCall = try self.telnyxClient?.newCall(callerName: "Caller name",
                                                     callerNumber: "155531234567",
                                                     // Destination is required and can be a phone number or SIP URI
                                                     destinationNumber: "18004377950",
                                                     callId: UUID.init())
这是一个通用示例:为了完全支持呼出电话,您需要实现 CallKit 以正确处理音频状态。有关更多信息,请查看“Audio Session Handling WebRTC + CallKit”部分。
如何接听来电
//Init your client
func initTelnyxClient() {
   //
   self.telnyxClient = TxClient()

   // Asign the delegate to get SDK events
   self.telnyxClient?.delegate = self

   // Connect the client (Check TxClient class for more info)
   self.telnyxClient?.connect(....)
}

extension ViewController: TxClientDelegate {
    //....
    func onIncomingCall(call: Call) {
        // We are automatically answering any incoming call as an example, but
        // maybe you want to store a reference of the call, and answer the call after a button press.
        self.myCall = call.answer()
    }
}
这是一个通用示例:为了完全支持呼入电话,您需要实现 PushKit + CallKit。有关更多信息,请查看“Setting up VoIP push notifications”部分。
SDK 提供 WebRTC 统计信息功能,以帮助进行故障排除和监控通话质量。此功能通过 TxClient 配置中的 debug 标志进行控制。
要启用 WebRTC 统计信息日志记录
let txConfig = TxConfig(sipUser: sipUser,
                       password: password,
                       pushDeviceToken: "DEVICE_APNS_TOKEN",
                       debug: true) // Enable WebRTC statistics
当配置 debug: true 时
- WebRTC 统计信息日志会在通话期间自动收集
- 日志将发送到 Telnyx 门户,并且可以在对象存储部分访问
- 统计信息链接到用于测试的 SIP 凭据
- 日志有助于 Telnyx 支持团队诊断问题并优化通话质量
-
日志访问:
- 如果您使用 SIP 凭据 A 运行应用,并且
debug: true,则 WebRTC 日志将在与凭据 A 关联的 Telnyx 门户帐户中可用 - 日志存储在您的 Telnyx 门户的对象存储部分
- 如果您使用 SIP 凭据 A 运行应用,并且
-
故障排除支持:
- WebRTC 统计信息主要旨在帮助 Telnyx 支持团队
- 在请求支持时,请为所有实例在
TxClient中启用debug: true - 联系支持时,请提供
debug ID或callId - 默认情况下禁用统计信息日志记录以优化性能
-
最佳实践:
- 仅在需要进行故障排除时才启用
debug: true - 请记住在支持请求中提供
debug ID或callId - 除非积极调查问题,否则请考虑在生产环境中禁用调试模式
- 仅在需要进行故障排除时才启用
为了在应用在后台运行或关闭时接收来电,您需要在您的 Mission Control 门户帐户和您的应用程序上执行一系列配置。
在此过程中,您将学习如何创建 VoIP 推送凭据并将凭据分配给 SIP 连接。
此过程需要
- 一个 Mission Control 门户帐户。
- 一个 SIP 连接。
- 您的 Apple VoIP 推送证书。
有关如何设置推送通知的完整说明,请访问此链接。
您的应用程序中需要进行以下设置才能接收 Telnyx VoIP 推送通知
- 打开与您的应用关联的 xcode 工作区。
- 在项目导航器(左侧菜单)中,选择代表您的移动应用的项目图标。
- 在 Xcode 右侧窗格的左上角,选择您的应用的目标。
- 按 +Capabilities 按钮。
- 启用推送通知
- 导入 pushkit
import PushKit
- 初始化 PushKit
private var pushRegistry = PKPushRegistry.init(queue: DispatchQueue.main)
...

func initPushKit() {
  pushRegistry.delegate = self
  pushRegistry.desiredPushTypes = Set([.voIP])
}
- 实现 PKPushRegistryDelegate
extension AppDelegate: PKPushRegistryDelegate {

    // New push notification token assigned by APNS.
    func pushRegistry(_ registry: PKPushRegistry, didUpdate credentials: PKPushCredentials, for type: PKPushType) {
        if (type == .voIP) {
            // This push notification token has to be sent to Telnyx when connecting the Client.
            let deviceToken = credentials.token.reduce("", {$0 + String(format: "%02X", $1) })
            UserDefaults.standard.savePushToken(pushToken: deviceToken)
        }
    }

    func pushRegistry(_ registry: PKPushRegistry, didInvalidatePushTokenFor type: PKPushType) {
        if (type == .voIP) {
            // Delete incoming token in user defaults
            let userDefaults = UserDefaults.init()
            userDefaults.deletePushToken()
        }
    }

    /**
     This delegate method is available on iOS 11 and above.
     */
    func pushRegistry(_ registry: PKPushRegistry, didReceiveIncomingPushWith payload: PKPushPayload, for type: PKPushType, completion: @escaping () -> Void) {
        if (payload.type == .voIP) {
            self.handleVoIPPushNotification(payload: payload)
        }

        if let version = Float(UIDevice.current.systemVersion), version >= 13.0 {
            completion()
        }
    }

    func handleVoIPPushNotification(payload: PKPushPayload) {
        if let metadata = payload.dictionaryPayload["metadata"] as? [String: Any] {

            let callId = metadata["call_id"] as? String
            let callerName = (metadata["caller_name"] as? String) ?? ""
            let callerNumber = (metadata["caller_number"] as? String) ?? ""
            let caller = callerName.isEmpty ? (callerNumber.isEmpty ? "Unknown" : callerNumber) : callerName


            let uuid = UUID(uuidString: callId)

            // Re-connect the client and process the push notification when is received.
            // You will need to use the credentials of the same user that is receiving the call.
            let txConfig = TxConfig(sipUser: sipUser,
                                password: password,
                                pushDeviceToken: "APNS_PUSH_TOKEN")


            //Call processVoIPNotification method

            try telnyxClient?.processVoIPNotification(txConfig: txConfig, serverConfiguration: serverConfig,pushMetaData: metadata)


            // Report the incoming call to CallKit framework.
            let callHandle = CXHandle(type: .generic, value: from)
            let callUpdate = CXCallUpdate()
            callUpdate.remoteHandle = callHandle
            callUpdate.hasVideo = false

            provider.reportNewIncomingCall(with: uuid, update: callUpdate) { error in
                  if let error = error {
                      print("AppDelegate:: Failed to report incoming call: \(error.localizedDescription).")
                  } else {
                      print("AppDelegate:: Incoming call successfully reported.")
                  }
            }
    }
}
- 如果一切设置正确,则当应用运行时,APNS 应分配一个推送令牌。
- 为了接收 VoIP 推送通知。您需要在连接到 Telnyx 客户端时发送您的推送令牌。
 let txConfig = TxConfig(sipUser: sipUser,
                         password: password,
                         pushDeviceToken: "DEVICE_APNS_TOKEN",
                         //You can choose the appropriate verbosity level of the SDK.
                         logLevel: .all)

 // Or use a JWT Telnyx Token to authenticate
 let txConfigToken = TxConfig(token: "MY_JWT_TELNYX_TOKEN",
                             pushDeviceToken: "DEVICE_APNS_TOKEN",
                             //You can choose the appropriate verbosity level of the SDK. Logs are disabled by default
                             logLevel: .all)
有关 Pushkit 的更多信息,您可以查看官方 Apple 文档。
重要提示:
- 您需要至少登录一次才能将您的设备令牌发送到 Telnyx,然后才能开始接收推送通知。
- 您需要向
processVoIPNotification()提供pushMetaData才能使推送呼叫正常工作。 - 您需要实现“CallKit”才能在有 VoIP 推送通知时报告来电。在 iOS 13.0 及更高版本中,如果您未能向 CallKit 报告呼叫,系统将终止您的应用。有关 Apple 文档 的更多信息
当处理 VoIP 呼叫时,PushKit 要求您使用 CallKit。CallKit 确保在用户设备上提供呼叫相关服务的应用在用户的设备上无缝协同工作,并尊重“请勿打扰”等功能。CallKit 还操作系统的呼叫相关 UI,包括呼入或呼出呼叫屏幕。使用 CallKit 来呈现这些界面并管理与它们的交互。
有关 CallKit 的更多信息,您可以查看官方 Apple 文档。
常规设置
- 导入 CallKit
import CallKit
- 初始化 CallKit
func initCallKit() {
  let configuration = CXProviderConfiguration(localizedName: "TelnyxRTC")
  configuration.maximumCallGroups = 1
  configuration.maximumCallsPerCallGroup = 1
  callKitProvider = CXProvider(configuration: configuration)
  if let provider = callKitProvider {
      provider.setDelegate(self, queue: nil)
  }
}
- 实现
CXProviderDelegate方法。
音频会话处理 WebRTC + CallKit
为了使 CallKit 与 TelnyxRTC SDK 正常工作,您需要根据 CallKit AudioSession 状态设置音频设备状态,如下所示
extension AppDelegate : CXProviderDelegate {

    ...

    func provider(_ provider: CXProvider, didActivate audioSession: AVAudioSession) {
        self.telnyxClient?.enableAudioSession(audioSession: audioSession)
    }

    func provider(_ provider: CXProvider, didDeactivate audioSession: AVAudioSession) {
        self.telnyxClient?.disableAudioSession(audioSession: audioSession)
    }
}
使用 CallKit 报告呼叫
为了使用正确的状态正确地向 callKit 报告呼叫,您需要在正确的实例中调用以下 callKit 方法
- 开始新呼叫:每当您开始呼叫时,都使用
provider.reportCall()方法向 callkit 报告。
        let callUpdate = CXCallUpdate()

        callUpdate.remoteHandle = callHandle
        callUpdate.supportsDTMF = true
        callUpdate.supportsHolding = true
        callUpdate.supportsGrouping = false
        callUpdate.supportsUngrouping = false
        callUpdate.hasVideo = false
        provider.reportCall(with: uuid, updated: callUpdate)
- 当用户收到呼叫时:使用
provider.reportNewIncomingCall(with: uuid, update: callUpdate)报告来电。这将向 callKit 发送请求,以向用户提供本机呼叫界面。
        guard let provider = callKitProvider else {
            print("AppDelegate:: CallKit provider not available")
            return
        }

        let callHandle = CXHandle(type: .generic, value: from)
        let callUpdate = CXCallUpdate()
        callUpdate.remoteHandle = callHandle

        provider.reportNewIncomingCall(with: uuid, update: callUpdate) { error in
            // handle error
        }
- 当被叫应答呼出电话时:使用
provider.reportOutgoingCall(with: callKitUUID, connectedAt:nil)报告已连接的呼出电话。这提供了呼出电话变为活动状态的时间给 callKit。
        if let provider = self.callKitProvider,
            let callKitUUID = self.callKitUUID {
            let date = Date()
            provider.reportOutgoingCall(with: callKitUUID, connectedAt:date)
        }
注意:这应仅在呼叫是呼出电话时使用。
- 当从推送通知接收呼叫时,始终需要在 WebSocket 连接后才能执行呼叫应答操作。这可以通过以下方式实现 CXProviderDelegate(SDK 版本 >=0.1.11)
func provider(_ provider: CXProvider, perform action: CXAnswerCallAction) {
        self.telnyxClient?.answerFromCallkit(answerAction: action)
}
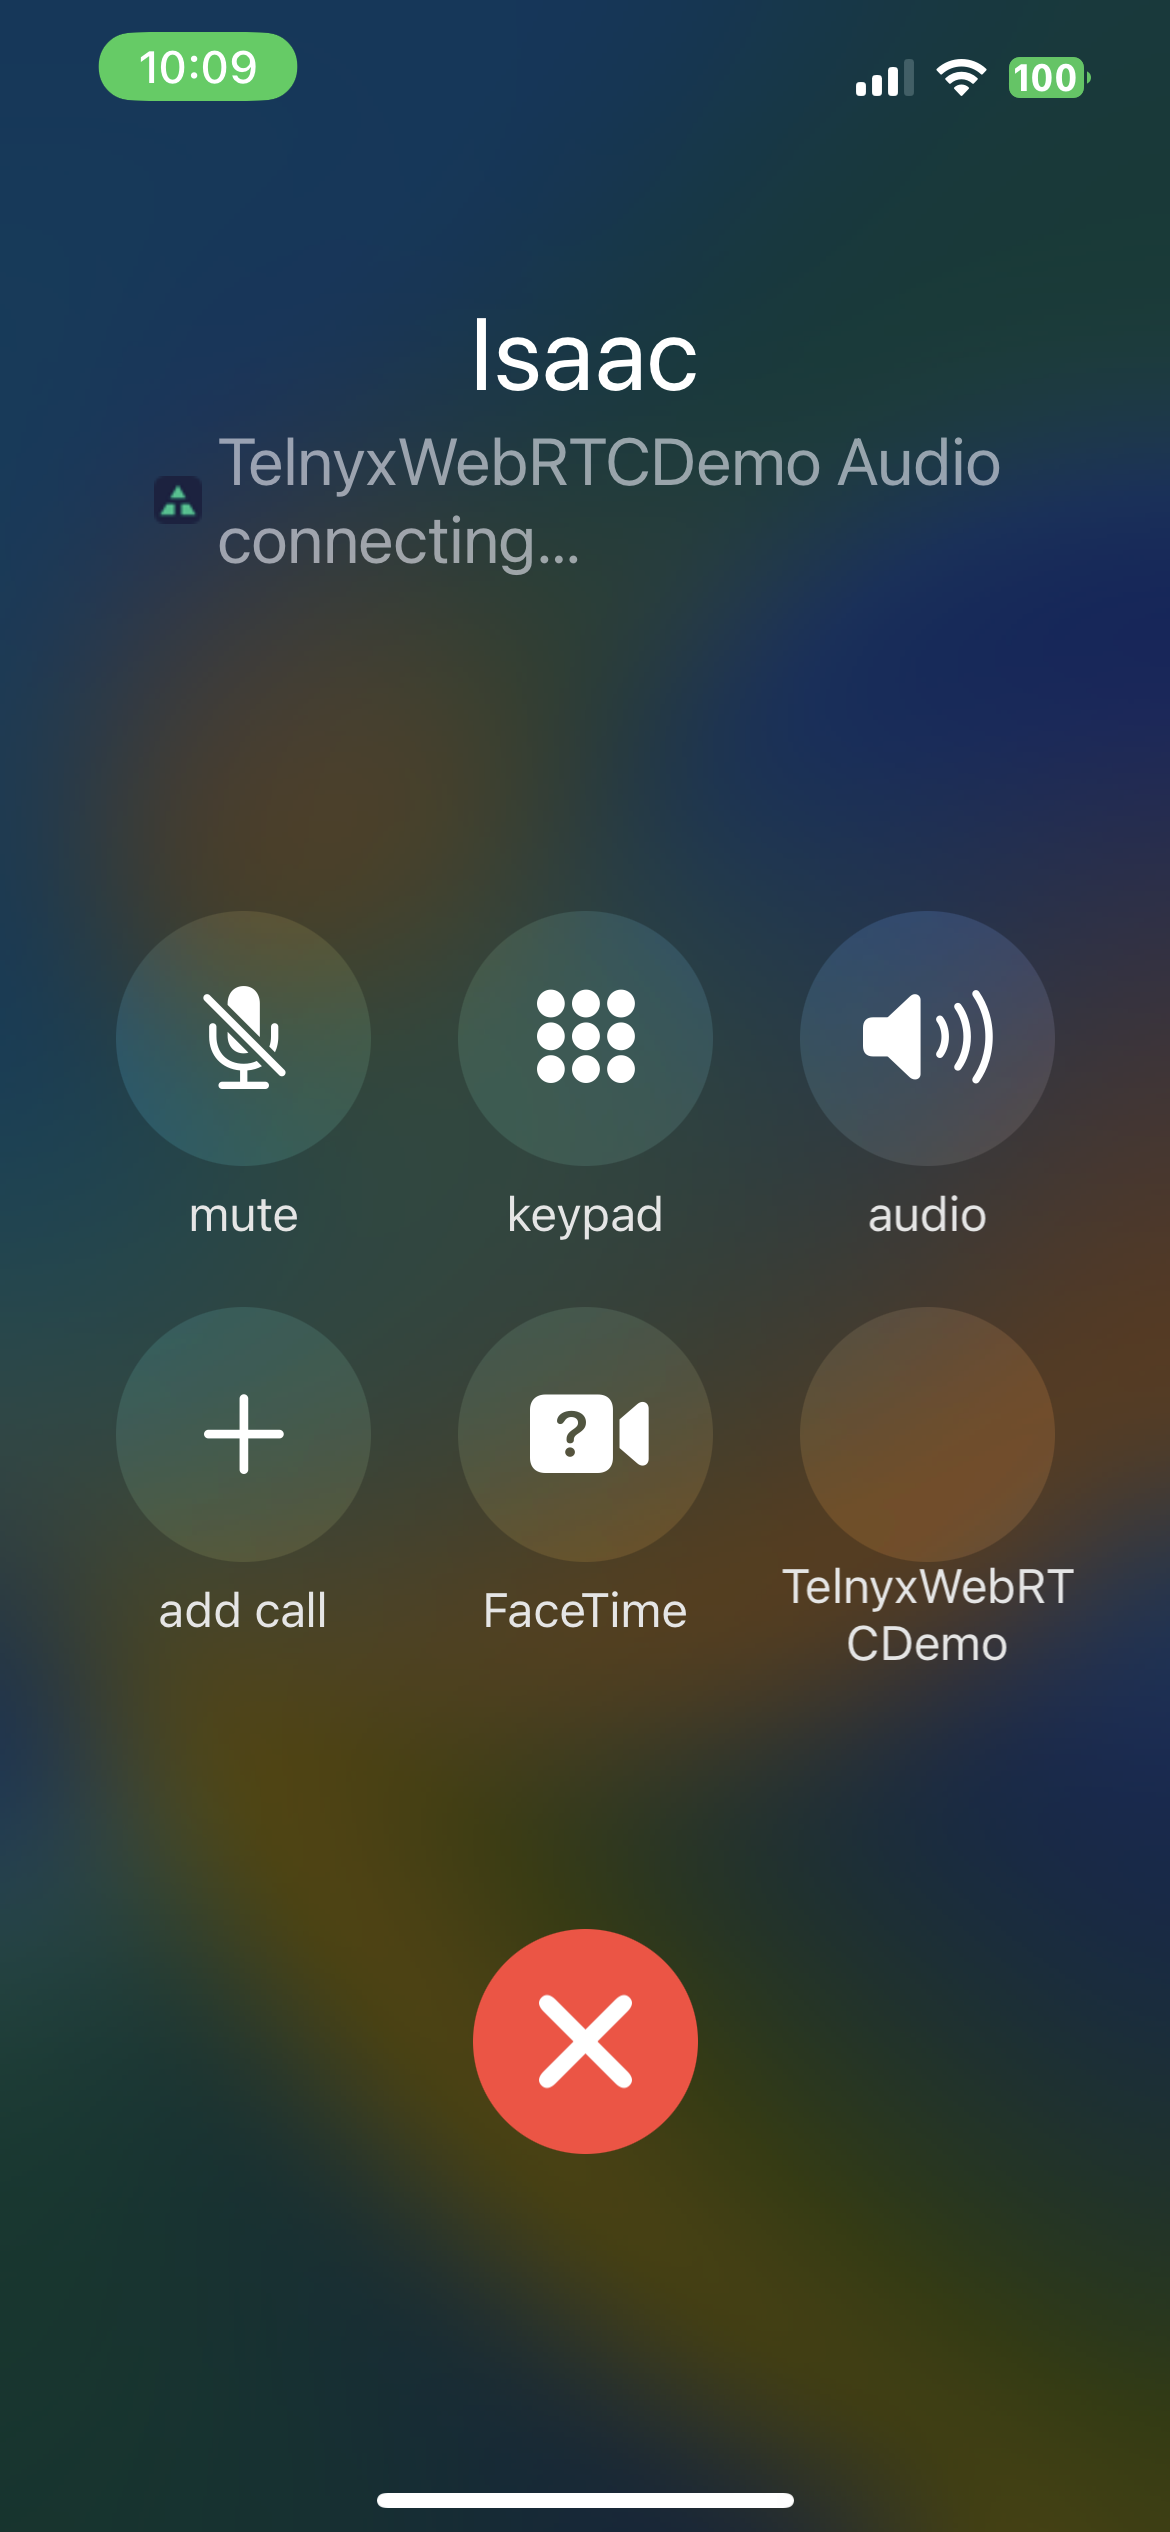
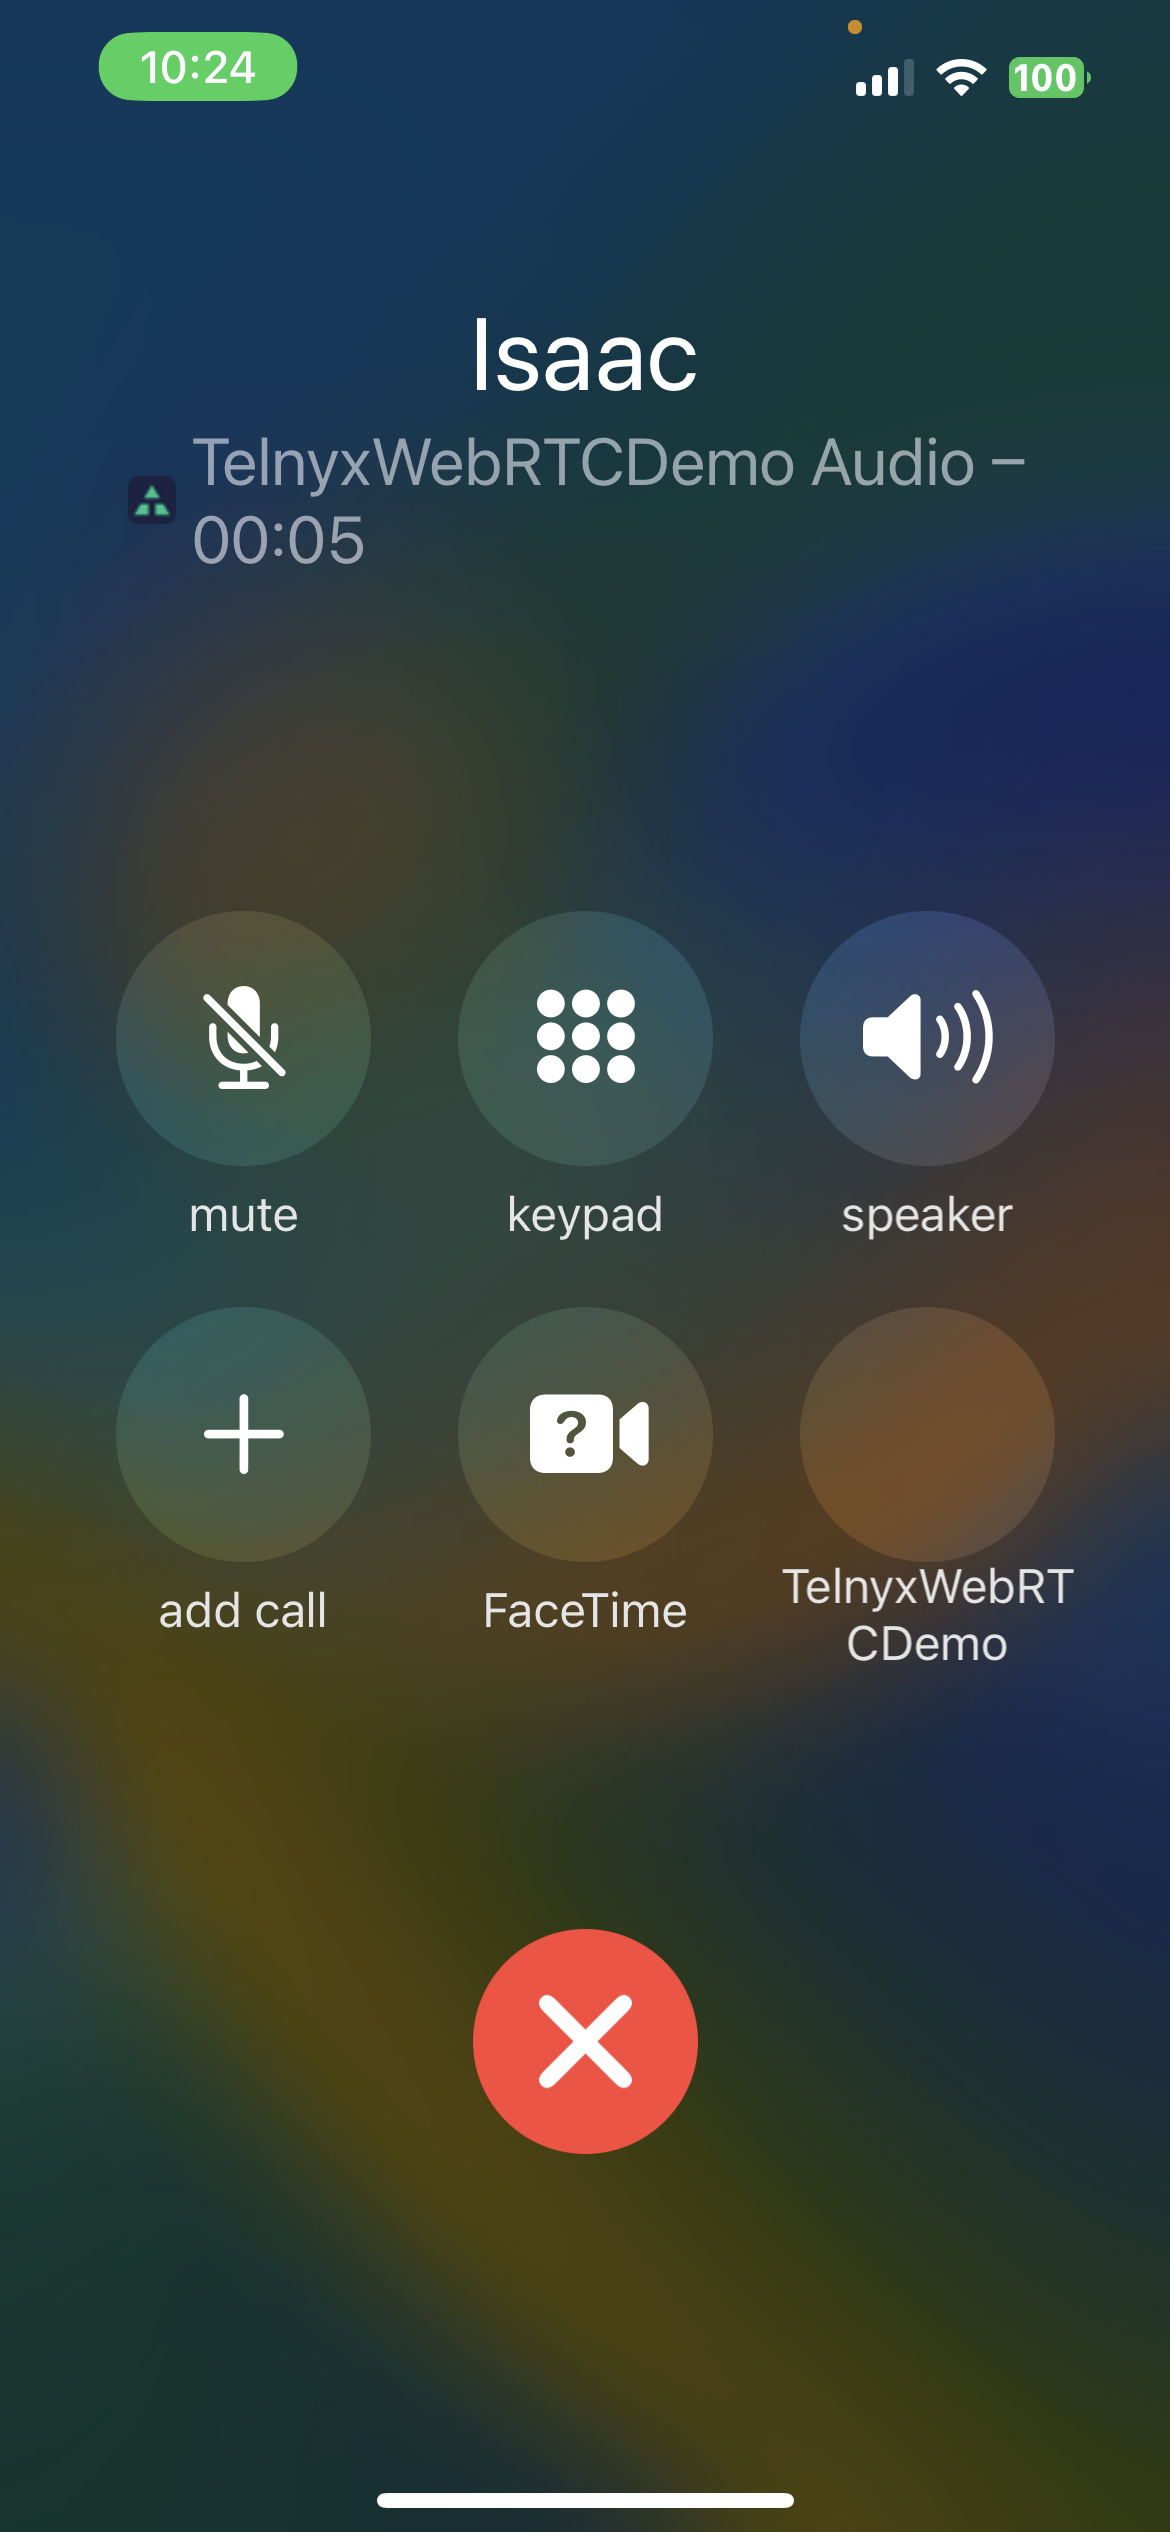
当调用 answerFromPush(answerAction: action) 时,Callkit 将呼叫状态设置为 connecting,以提醒用户正在连接呼叫。一旦呼叫处于活动状态,计时器就会启动。
| 正在连接状态 | 活动呼叫 |
 |
 |
以前的 SDK 版本需要在客户端处理 websocket 连接状态。可以通过以下方式完成
var callAnswerPendingFromPush:Bool = false

func provider(_ provider: CXProvider, perform action: CXAnswerCallAction) {
        print("AppDelegate:: ANSWER call action: callKitUUID [\(String(describing: self.callKitUUID))] action [\(action.callUUID)]")
        if(currentCall != nil){
            self.currentCall?.answer()
        }else {
            self.callAnswerPendingFromPush = true
        }
        action.fulfill()
}

func onPushCall(call: Call) {
        print("AppDelegate:: TxClientDelegate onPushCall() \(call)")
        self.currentCall = call //Update the current call with the incoming call

        //Answer Call if call was answered from callkit
        //This happens when there's a race condition between login and receiving PN
        // when User answer's the call from PN and there's no Call or INVITE message yet. Set callAnswerPendingFromPush = true
        // Whilst we wait fot onPushCall Method to be called
         if(self.callAnswerPendingFromPush){
            self.currentCall?.answer()
            self.callAnswerPendingFromPush = false
        }

}
同样,对于结束呼叫,应从 endCallFromCallkit(endAction:action) 方法调用
func provider(_ provider: CXProvider, perform action: CXEndCallAction) {

        self.telnyxClient?.endCallFromCallkit(endAction:action)

}
调用此方法解决了竞争条件,即在客户端连接到网络服务器之前呼叫已结束。这样,一旦建立连接,呼叫就会在被叫方结束。
- 接收端的日志对于彻底调试与推送通知相关的问题至关重要。但是,当应用完全被杀死时,调试器不会附加。为了解决这个问题,您可以简单地将应用置于后台。VOIP 推送通知应该会通过,并且调试器应该捕获所有日志。
处理多个呼叫
为了处理多个呼叫,我们可以依赖 CXProviderDelegate 委托,它会调用与在 callkit 用户界面上执行的操作相对应的函数。
- 结束并接受或拒绝:callkit 用户界面上的 end and accept(结束并接受)按钮接受新呼叫并结束之前的呼叫。当按下 end and accept(结束并接受)按钮时,Callkit 然后调用
CXAnswerCallAction和CXEndCallAction。您可以通过以下方式处理这种情况
 var currentCall: Call?
 var previousCall: Call?

 //current calkit uuid
 var callKitUUID: UUID?

     func onIncomingCall(call: Call) {
        guard let callId = call.callInfo?.callId else {
            print("AppDelegate:: TxClientDelegate onIncomingCall() Error unknown call UUID")
            return
        }
        print("AppDelegate:: TxClientDelegate onIncomingCall() callKitUUID [\(String(describing: self.callKitUUID))] callId [\(callId)]")

        self.callKitUUID = call.callInfo?.callId

        //Update the previous call with the current call
        self.previousCall = self.currentCall

        //Update the current call with the incoming call
        self.currentCall = call
        ..
  }
随后,当用户单击“End and Accept”(结束并接受)或“Decline Button”(拒绝按钮)时,您需要确定单击了哪个按钮。您可以按如下方式操作
    //Callkit invokes CXEndCallAction and  CXAnswerCallAction delegate function for accept and answer
    func provider(_ provider: CXProvider, perform action: CXEndCallAction) {
        print("AppDelegate:: END call action: callKitUUID [\(String(describing: self.callKitUUID))] action [\(action.callUUID)]")

        // if the callKitUUID is the same as the one provided by the action
        // callkit expects you to end the current call
        if(self.callKitUUID == action.callUUID){
            if let onGoingCall = self.previousCall {
                self.currentCall = onGoingCall
                self.callKitUUID = onGoingCall.callInfo?.callId
            }
        }else {
            // callkit expects you to end the previous call
            self.callKitUUID = self.currentCall?.callInfo?.callId
        }
        self.telnyxClient?.endCallFromCallkit(endAction:action)
    }
注意
在处理多个呼叫时,您应该使用正确的 callUUID 正确地向 callkit 报告 call end(呼叫结束)。这将使您的活动呼叫与 callkit 用户界面保持一致,直到没有更多活动会话。
- 保持并接受或拒绝:callkit 用户界面上的 hold and accept(保持并接受)按钮接受新呼叫并保持之前的呼叫。当按下 hold and accept(保持并接受)按钮时,Callkit 然后调用
CXSetHeldCallAction。
 func provider(_ provider: CXProvider, perform action: CXSetHeldCallAction) {
        print("provider:performSetHeldAction:")
        //request to hold previous call, since we have both the current and previous calls
        previousCall?.hold()
        action.fulfill()
 }
此外,当当前呼叫在 CXEndCallAction 上结束时,您还需要取消保持之前的呼叫。
   func provider(_ provider: CXProvider, perform action: CXEndCallAction) {
        if(previousCall?.callState == .HELD){
            print("AppDelegate:: call held.. unholding call")
            previousCall?.unhold()
        }
        ...
   }
注意
在处理多个呼叫时,您应该使用正确的 callUUID 正确地向 callkit 报告 call end(呼叫结束)。这将使您的活动呼叫与 callkit 用户界面保持一致,直到没有更多活动会话。
可以通过调用以下命令为当前用户禁用推送通知
telnyxClient.disablePushNotifications()
注意:使用相同的凭据重新登录将重新启用推送通知。
版本 0.1.26 添加了对隐私清单的支持
有关更多信息,您可以
- 克隆仓库
- 并查看导出的文档:
docs/index.html
有问题?意见?正在构建一些很棒的东西?加入我们的 Slack 频道 并分享。


